> ## Documentation Index
> Fetch the complete documentation index at: https://docs.ubik-agent.com/llms.txt
> Use this file to discover all available pages before exploring further.
# Self-hosted GPU Parser
> Learn how to deploy and manage your own optimized GPU parser instance.
This guide explains how to self-host our optimized GPU parser that allows for element highlighting.
**Disclaimer**: This deployment process is currently manual. We are working to streamline it in future updates. If you encounter any issues, need assistance, or have specific requirements for other cloud providers, please do not hesitate to reach out to us.
## Prerequisites
* Access to the [UBIK Admin Console](https://app.ubik-agent.com/admin)
* Billing owner permissions
## Deployment Steps
1. **Navigate to the Admin Page**
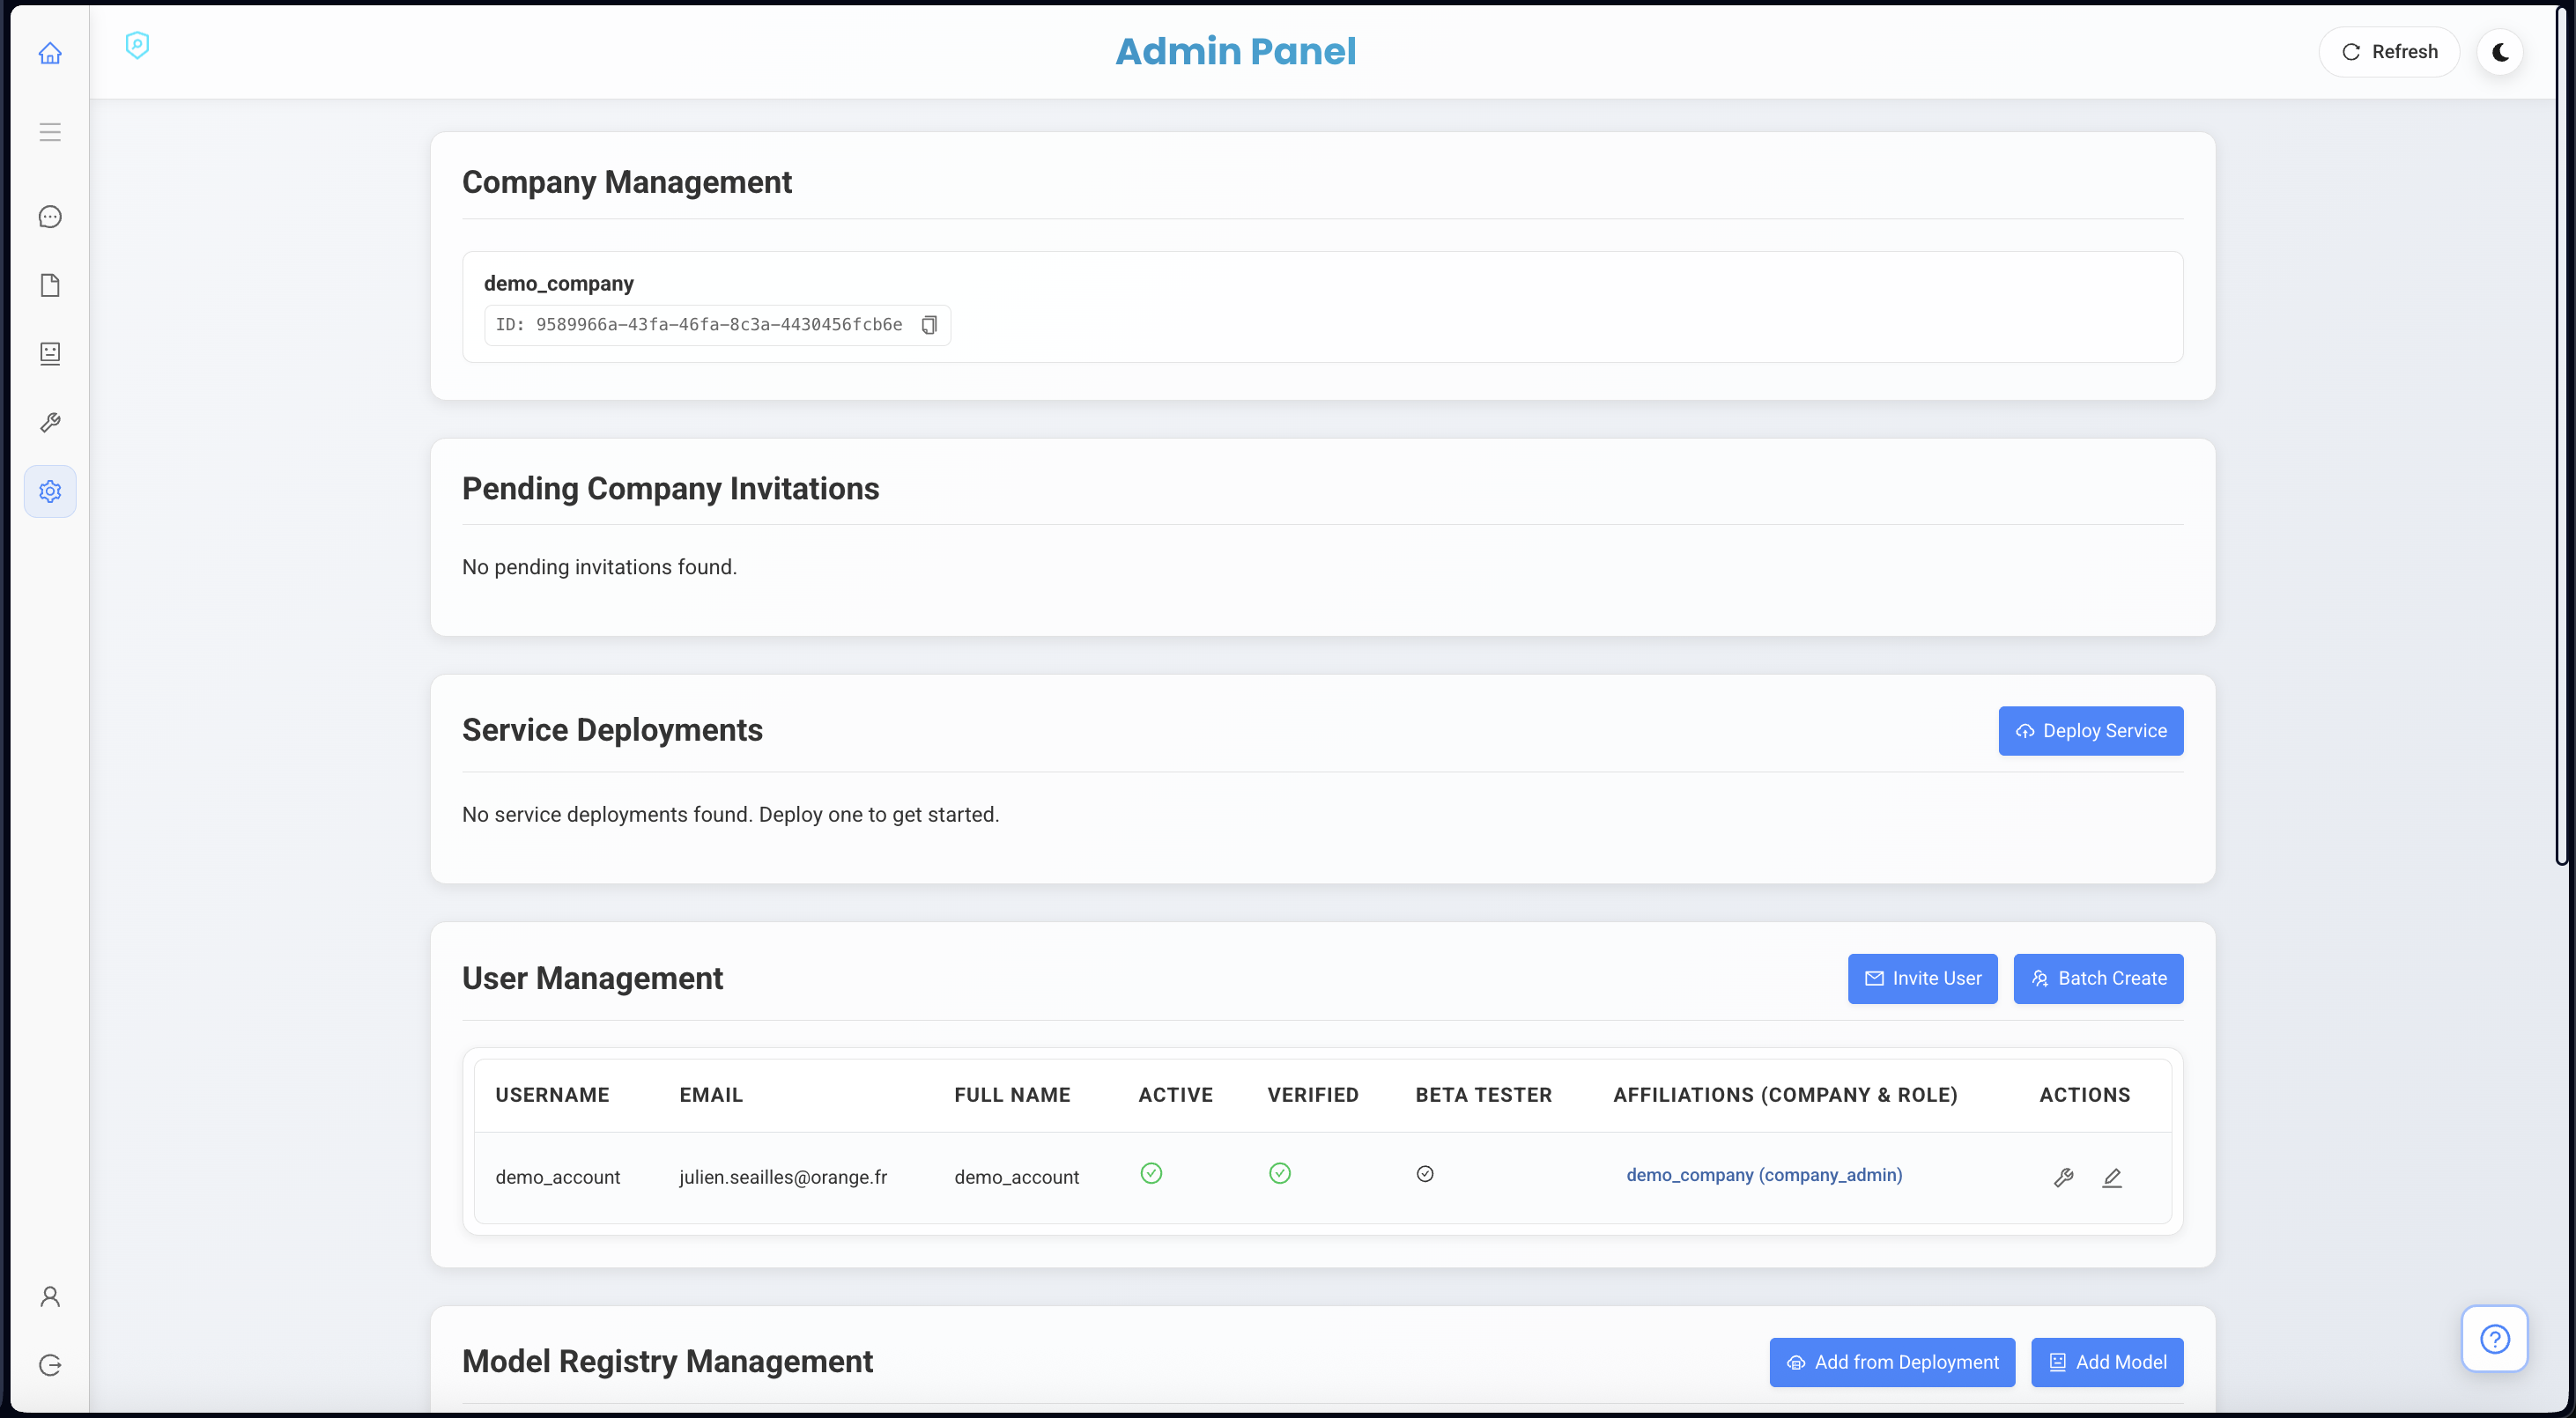
Go to [https://app.ubik-agent.com/admin](https://app.ubik-agent.com/admin). Here you have access to manage all users within your company.
 2. **Initiate Deployment**
Click on **Deploy Service**.
2. **Initiate Deployment**
Click on **Deploy Service**.
 3. **Configure Service**
In the deployment modal:
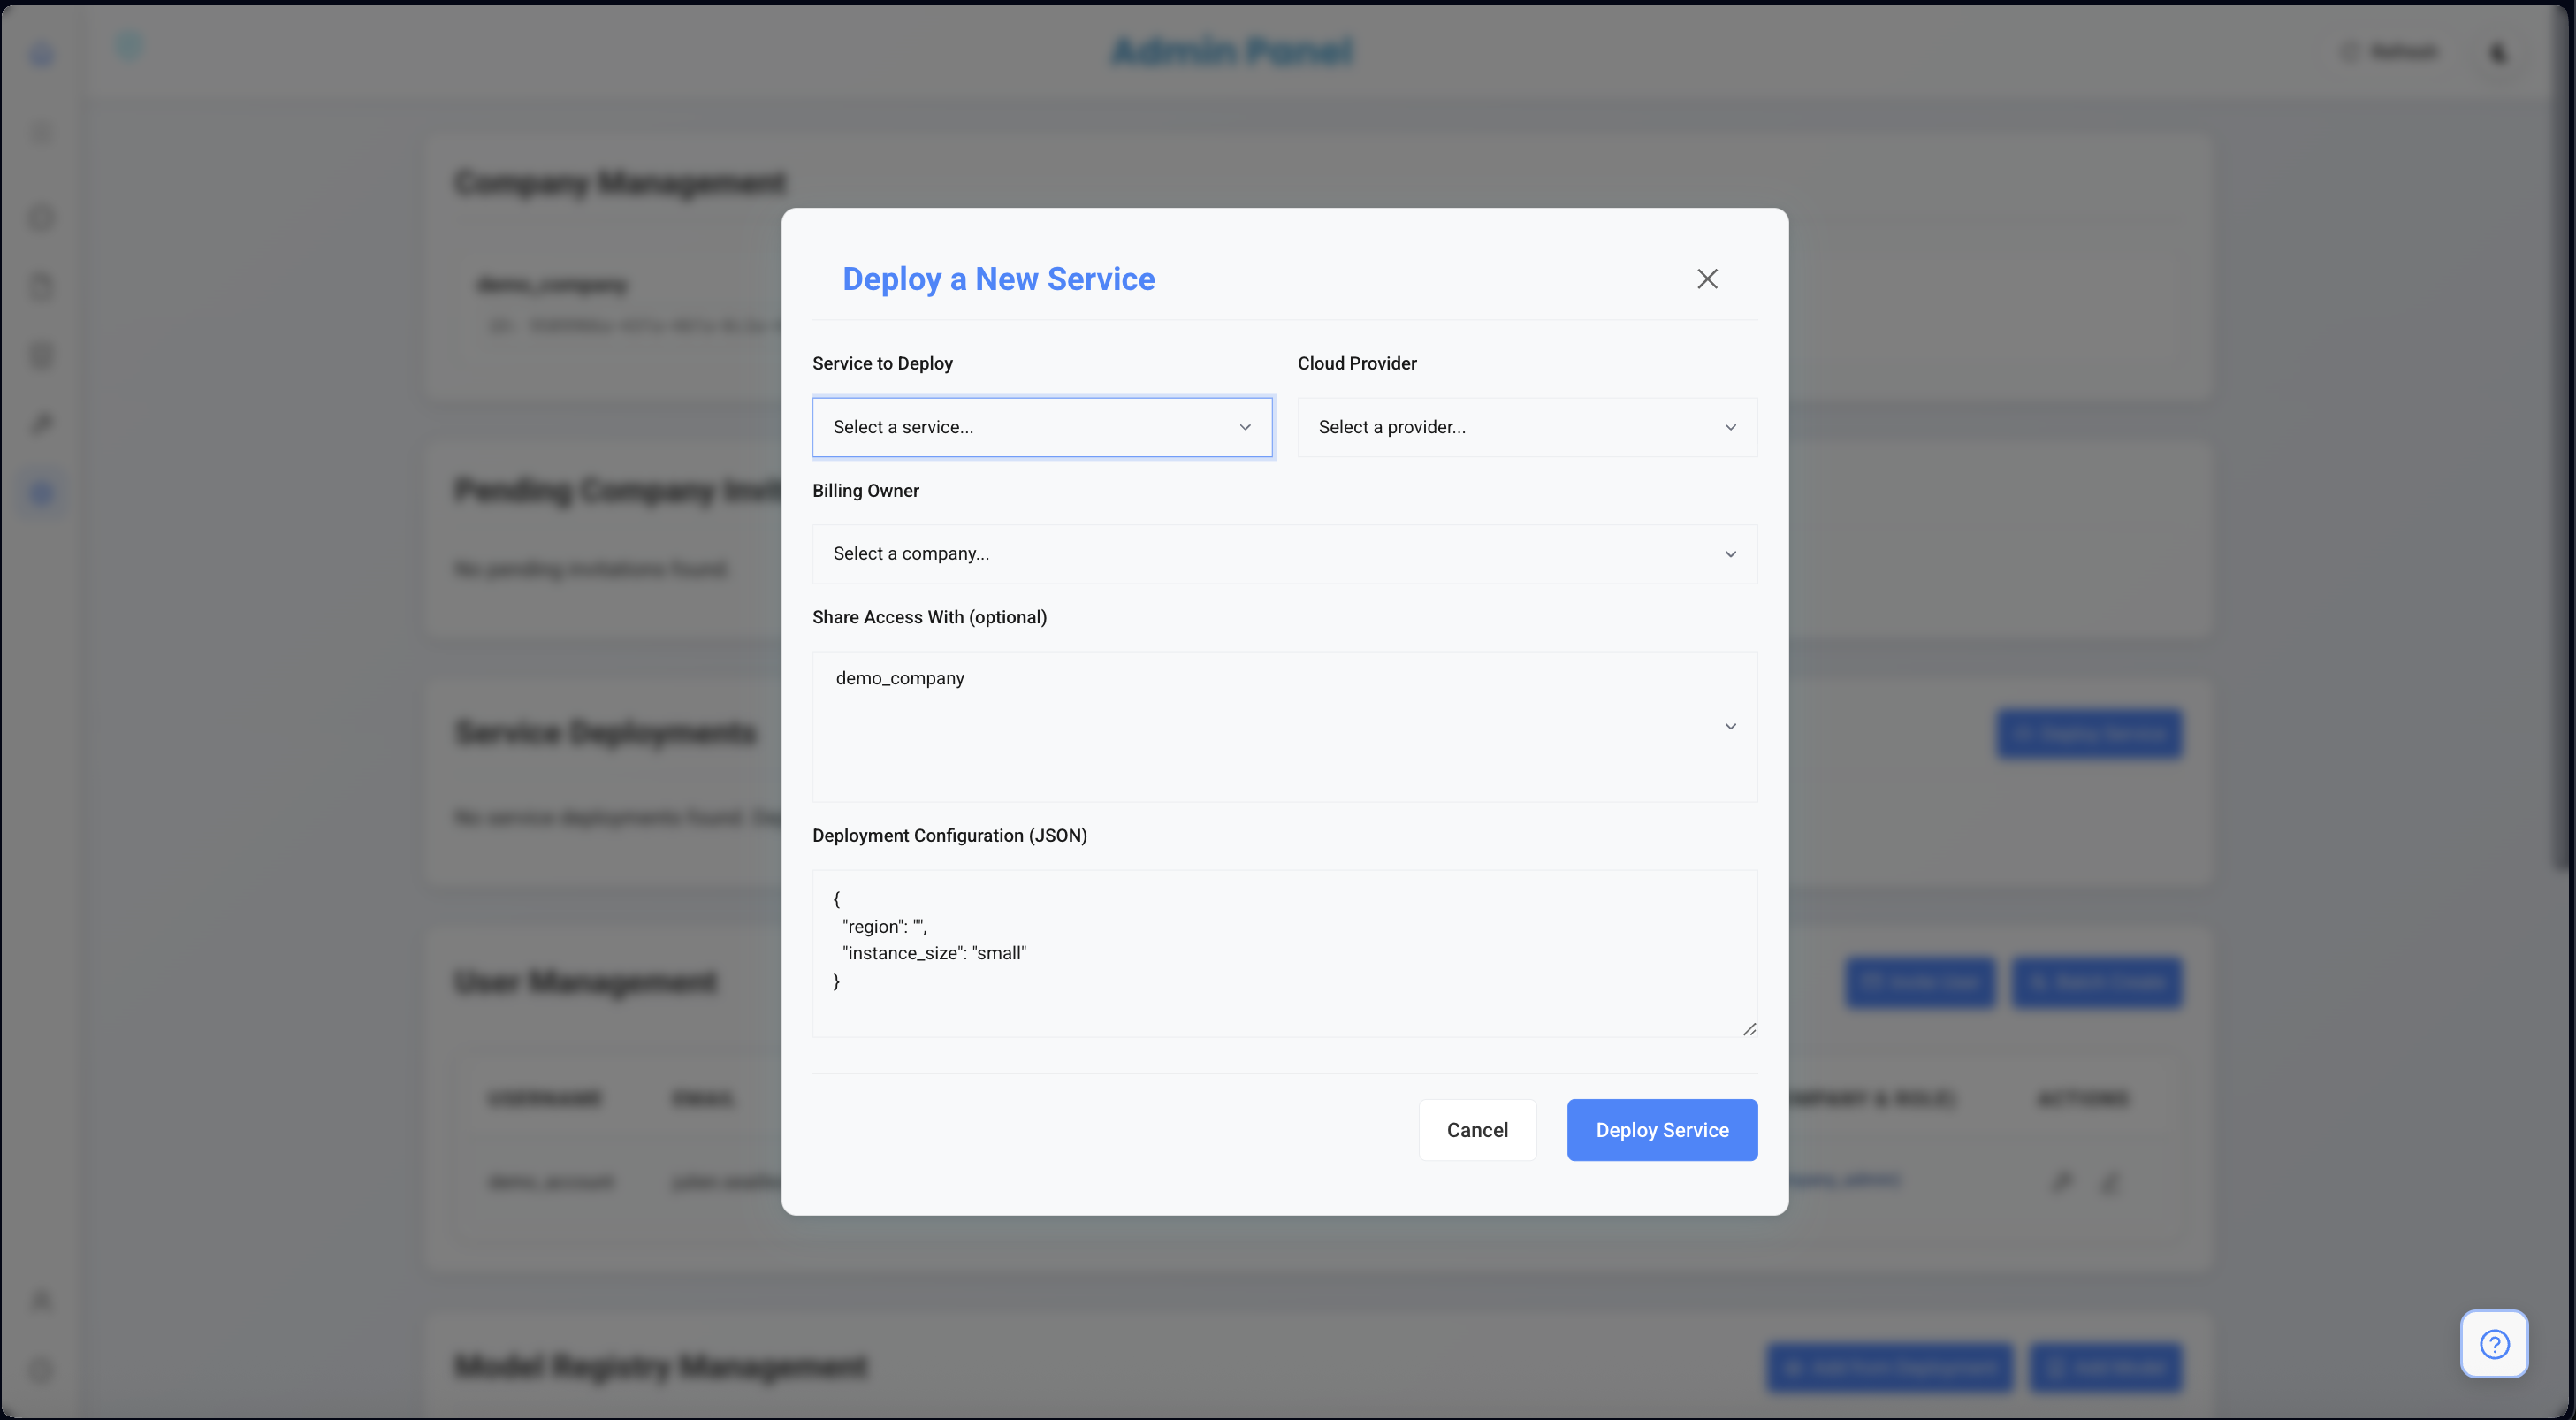
* Select **"Parsing api (gpu optimized)"** for the service.
* Select **"Digital Ocean"** as the provider.
* Select your company (e.g., "demo\_company") as the billing owner.
4. **JSON Configuration**
Insert the following JSON configuration into the deployment configuration field:
```json theme={null}
{
"region": "tor1",
"instance_size": "gpu-4000adax1-20gb",
"image": "gpu-h100x1-base",
"health_check_path": "/healthcheck",
"environment_vars": {
"PORT": "8080",
"NUM_WORKERS": "8"
}
}
```
**Availability Note**: The cheapest option is `gpu-4000adax1-20gb` in `tor1` (shown above), but it is often out of stock.
If the deployment fails due to unavailability, try the following configuration which uses `gpu-6000adax1-48gb` and is generally more available:
```json theme={null}
{
"region": "tor1",
"instance_size": "gpu-6000adax1-48gb",
"image": "gpu-h100x1-base",
"health_check_path": "/healthcheck",
"environment_vars": {
"PORT": "8080",
"NUM_WORKERS": "8"
}
}
```
3. **Configure Service**
In the deployment modal:
* Select **"Parsing api (gpu optimized)"** for the service.
* Select **"Digital Ocean"** as the provider.
* Select your company (e.g., "demo\_company") as the billing owner.
4. **JSON Configuration**
Insert the following JSON configuration into the deployment configuration field:
```json theme={null}
{
"region": "tor1",
"instance_size": "gpu-4000adax1-20gb",
"image": "gpu-h100x1-base",
"health_check_path": "/healthcheck",
"environment_vars": {
"PORT": "8080",
"NUM_WORKERS": "8"
}
}
```
**Availability Note**: The cheapest option is `gpu-4000adax1-20gb` in `tor1` (shown above), but it is often out of stock.
If the deployment fails due to unavailability, try the following configuration which uses `gpu-6000adax1-48gb` and is generally more available:
```json theme={null}
{
"region": "tor1",
"instance_size": "gpu-6000adax1-48gb",
"image": "gpu-h100x1-base",
"health_check_path": "/healthcheck",
"environment_vars": {
"PORT": "8080",
"NUM_WORKERS": "8"
}
}
```
 5. **Deploy**
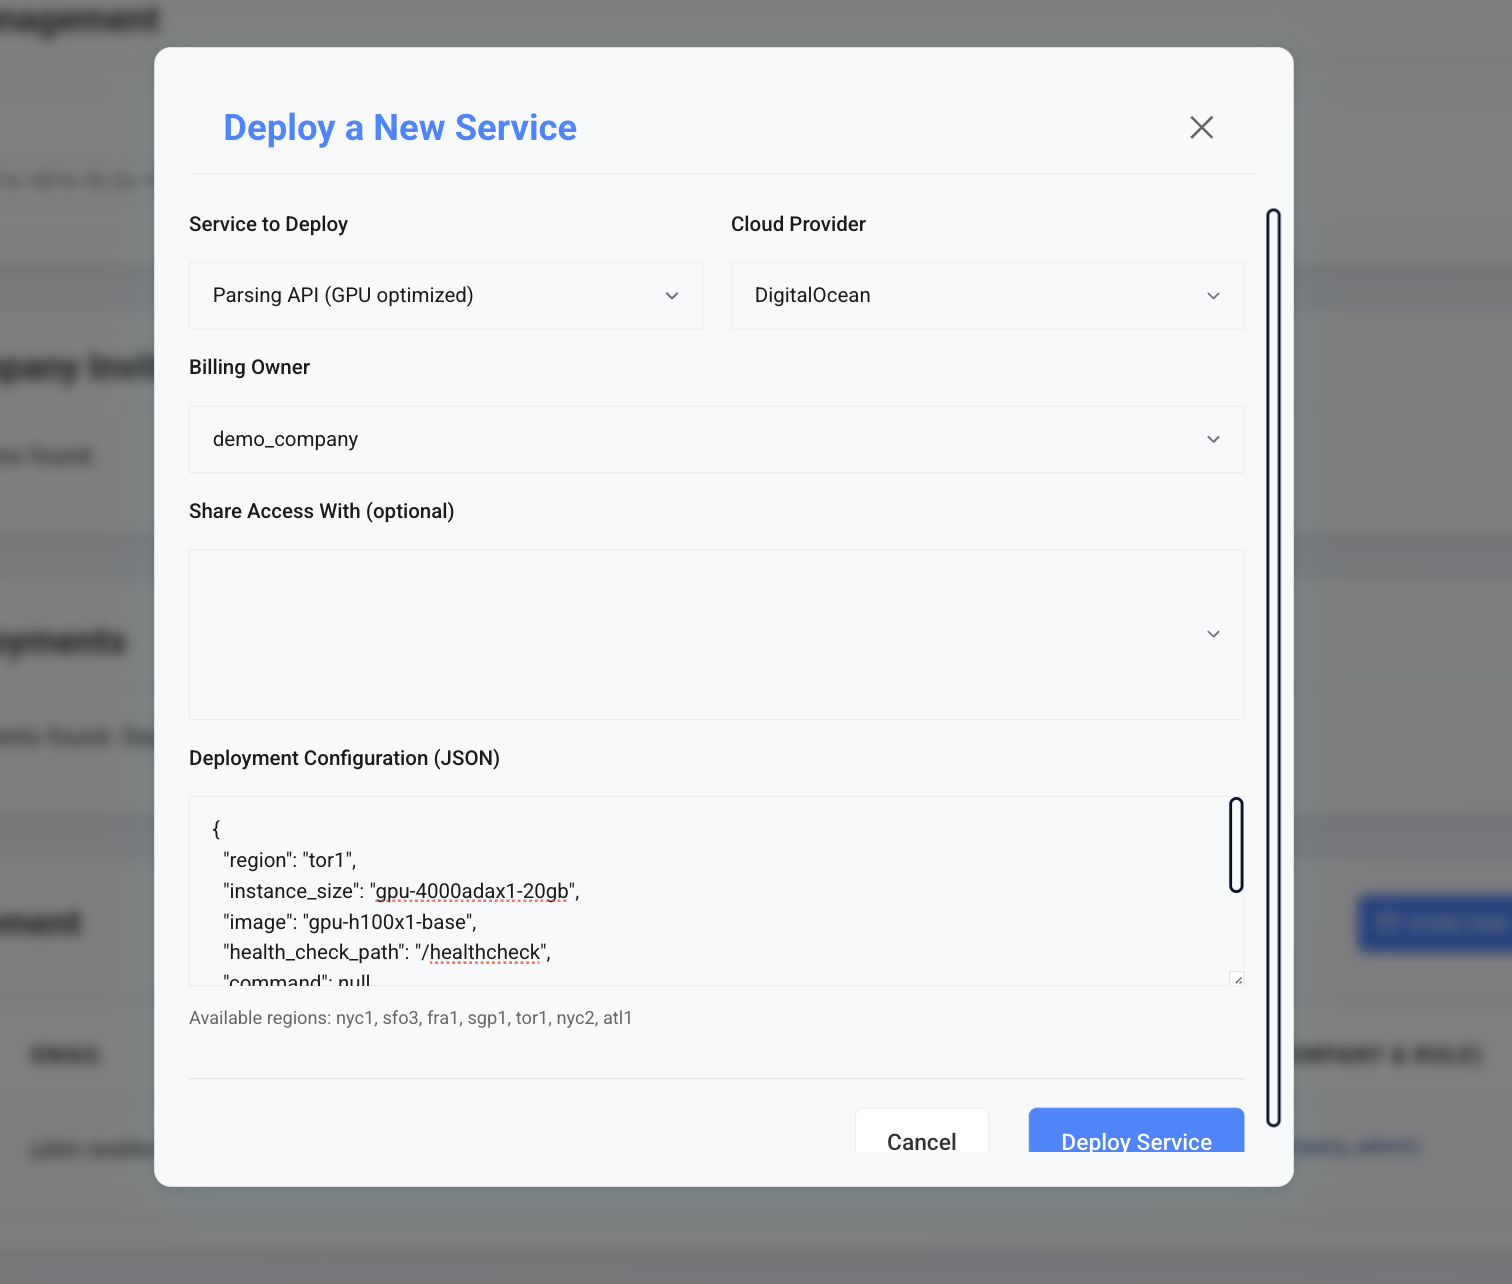
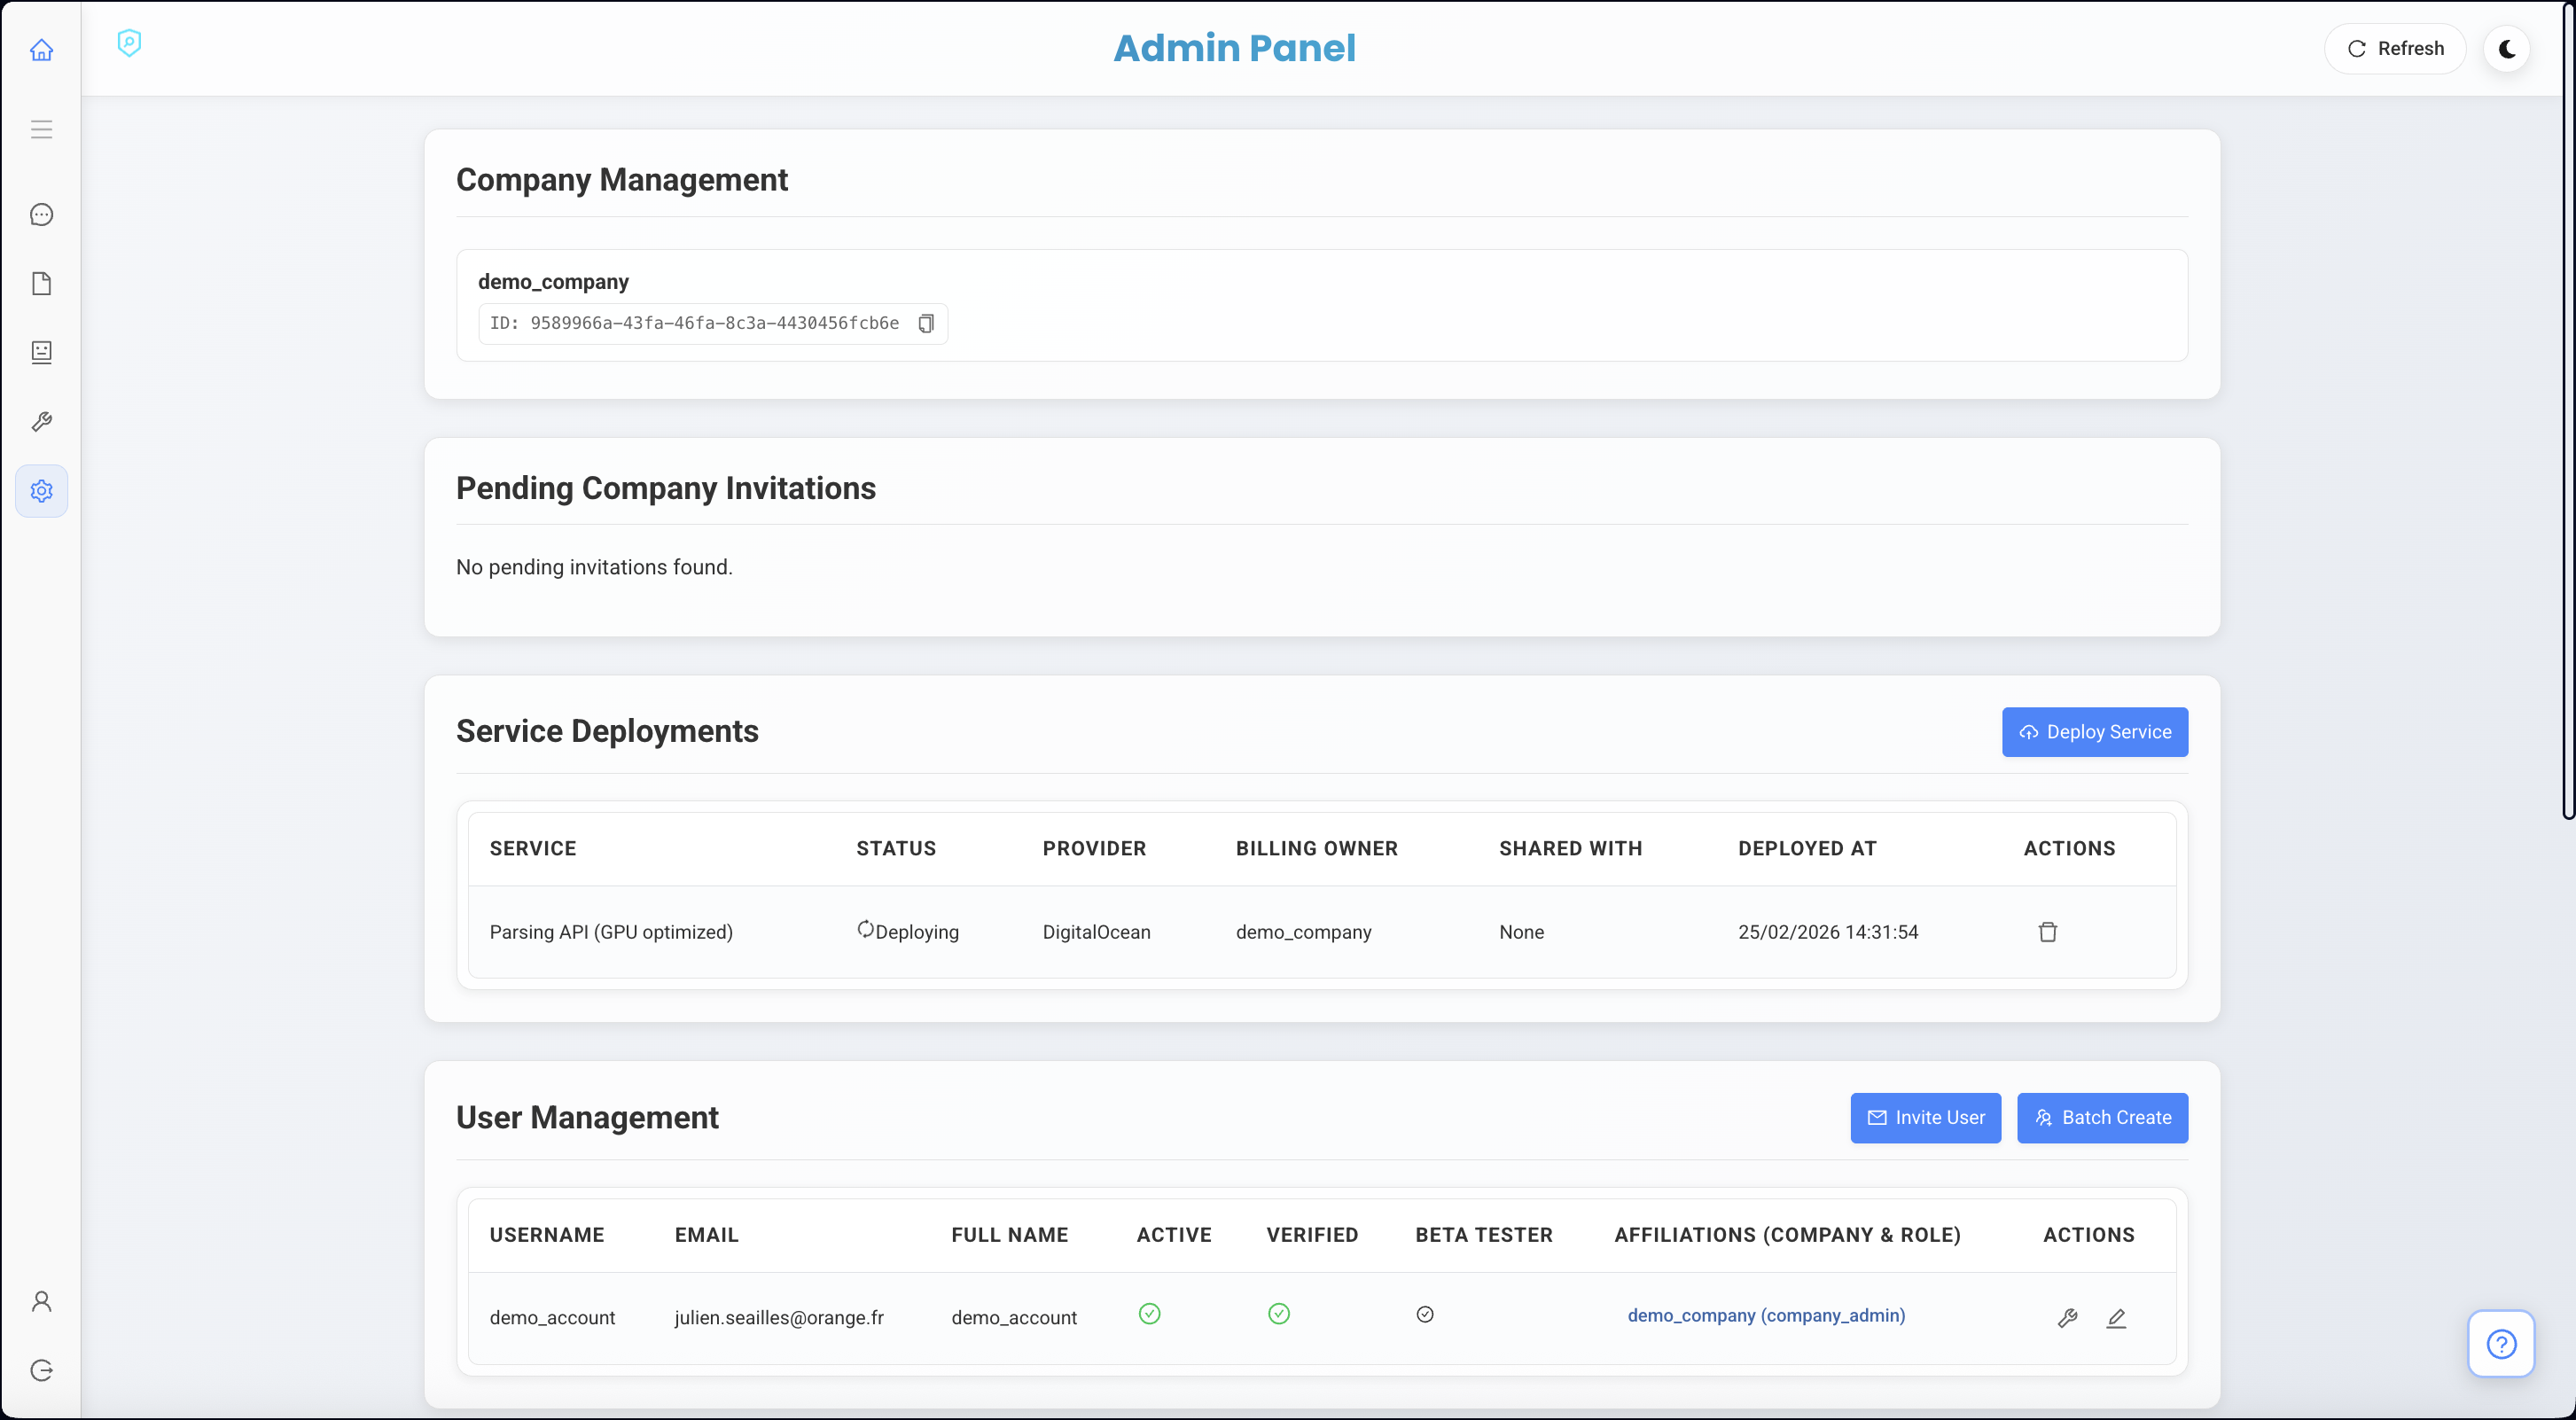
Click on **Deploy**. The service will enter a deployment state. This process typically takes around 15 minutes for the machine to be set up.
5. **Deploy**
Click on **Deploy**. The service will enter a deployment state. This process typically takes around 15 minutes for the machine to be set up.
 ## Access Management
Once the machine is ready and in a "Running" state, it is initially only associated with your company. You need to grant access to specific users or services.
## Access Management
Once the machine is ready and in a "Running" state, it is initially only associated with your company. You need to grant access to specific users or services.
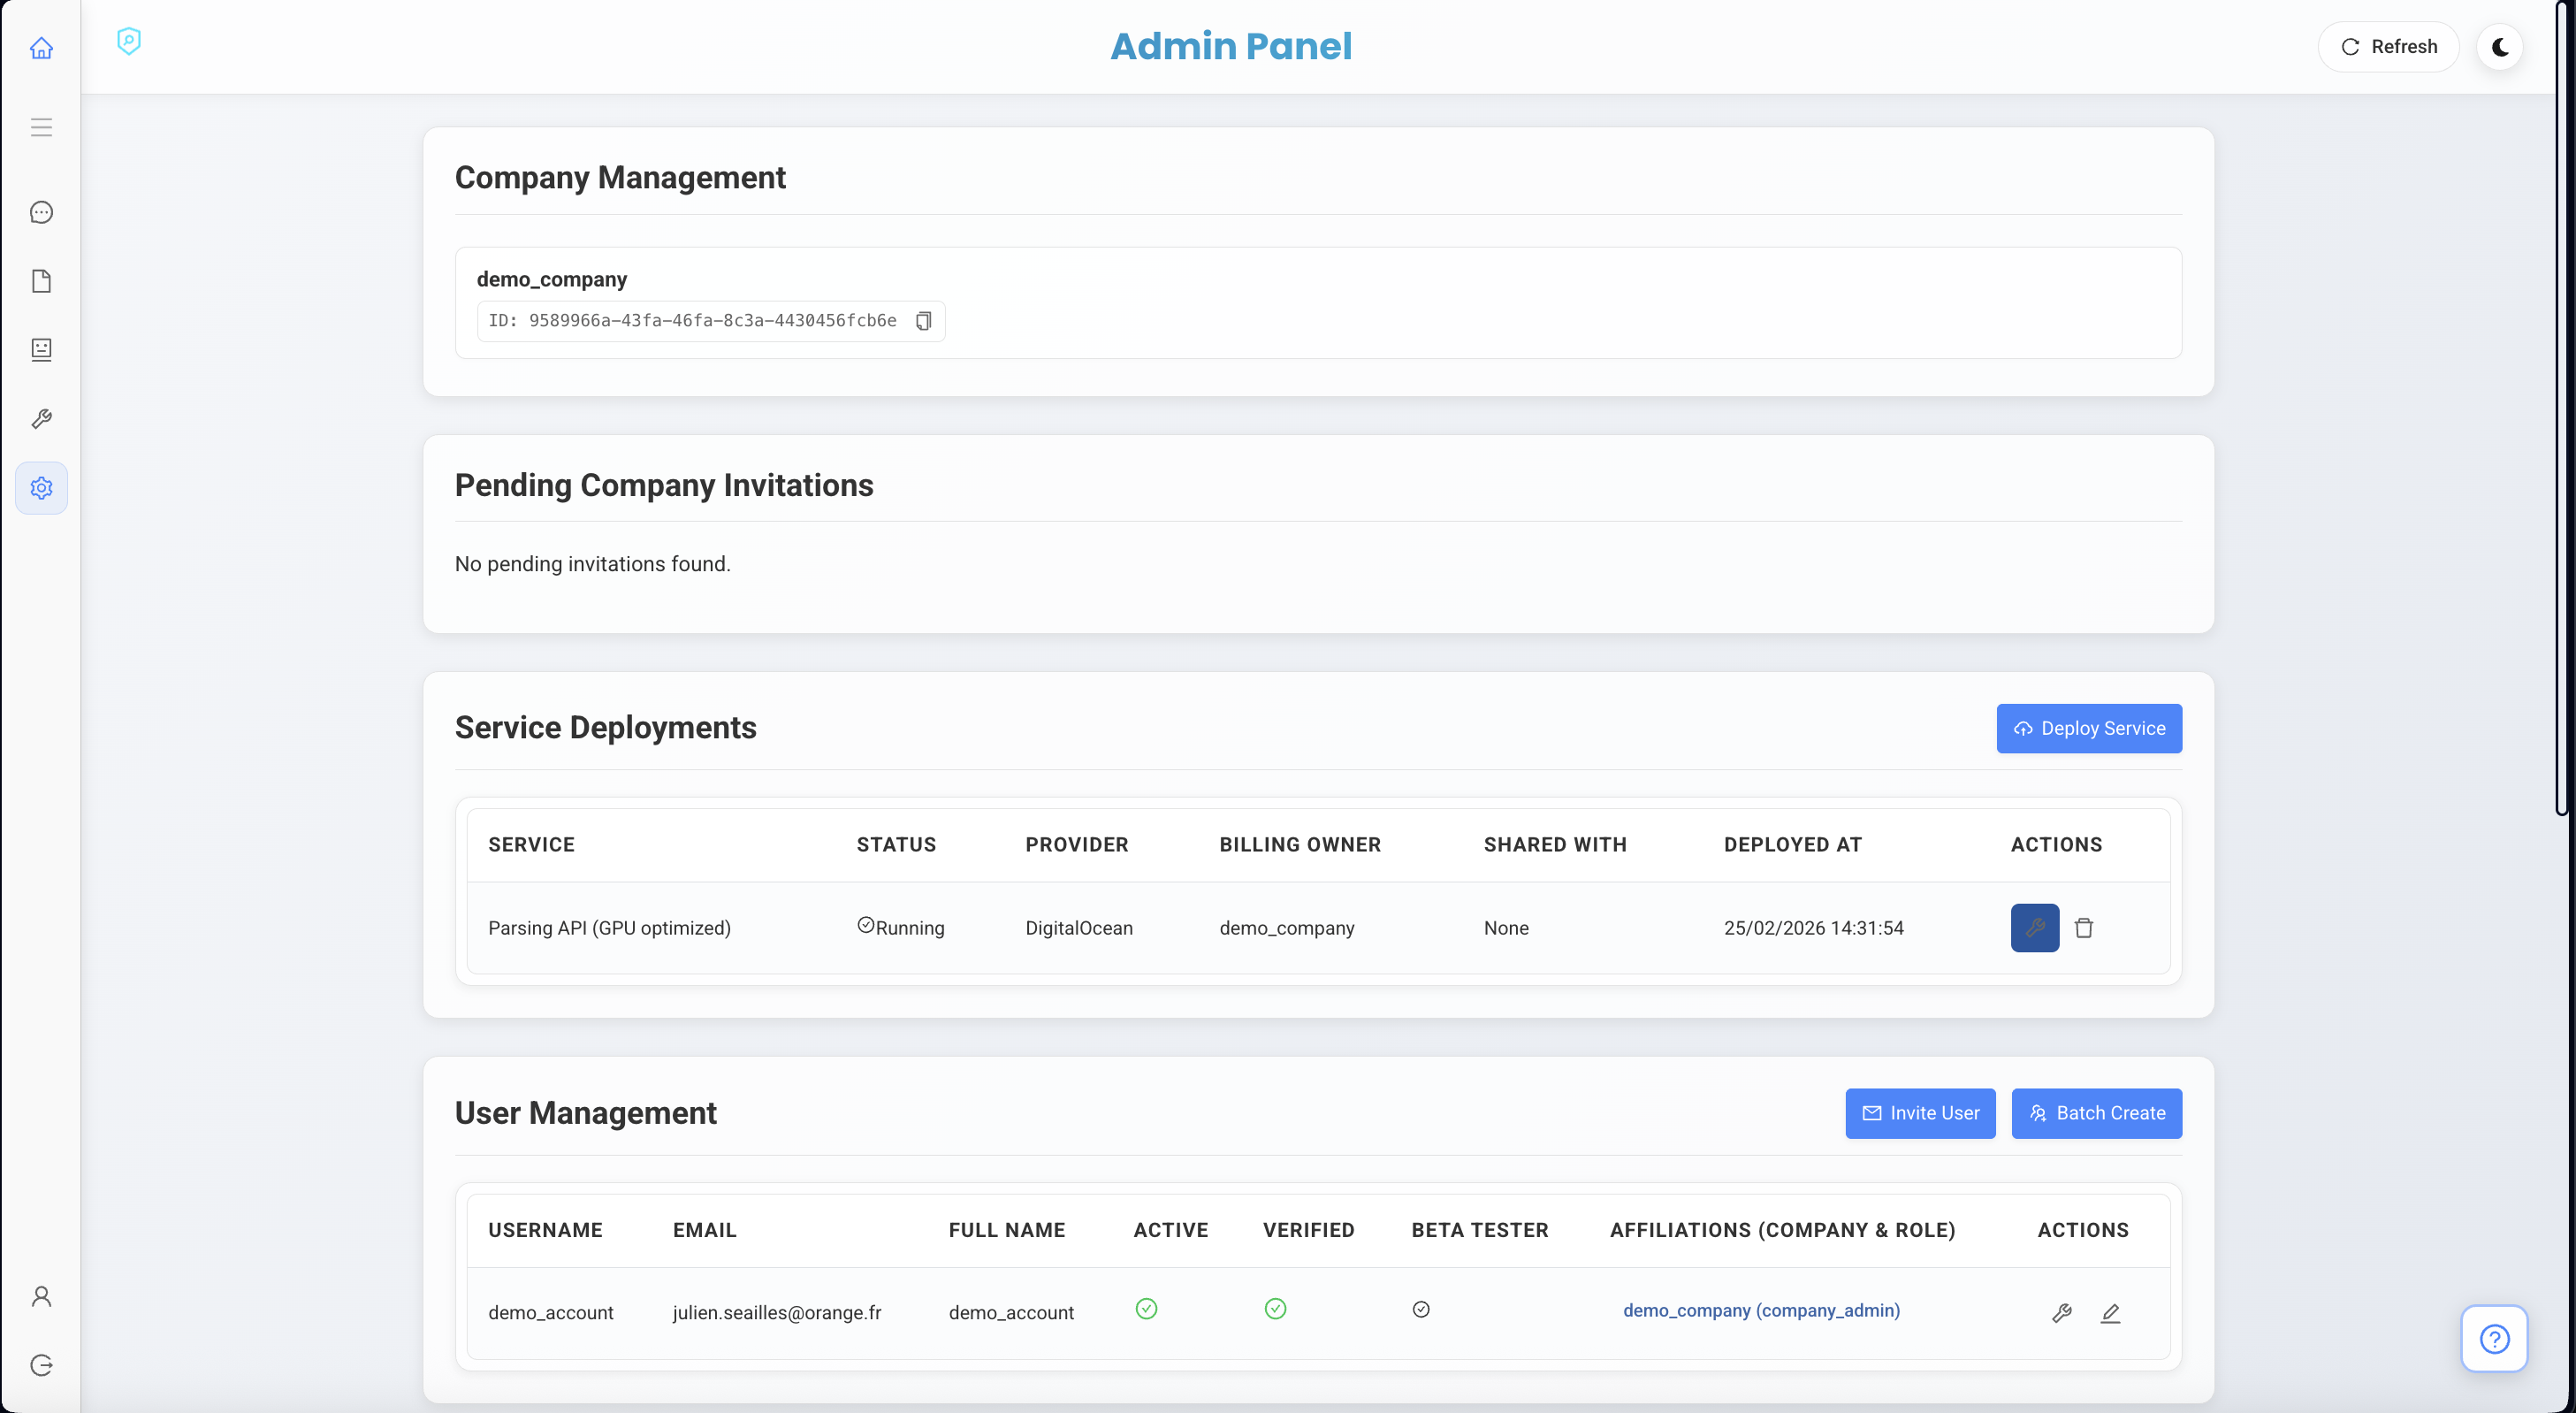 Once the machine is ready you’ll see that It will be in a running state. Now that the machine is responsive, let’s link it to a particular service of the platform:
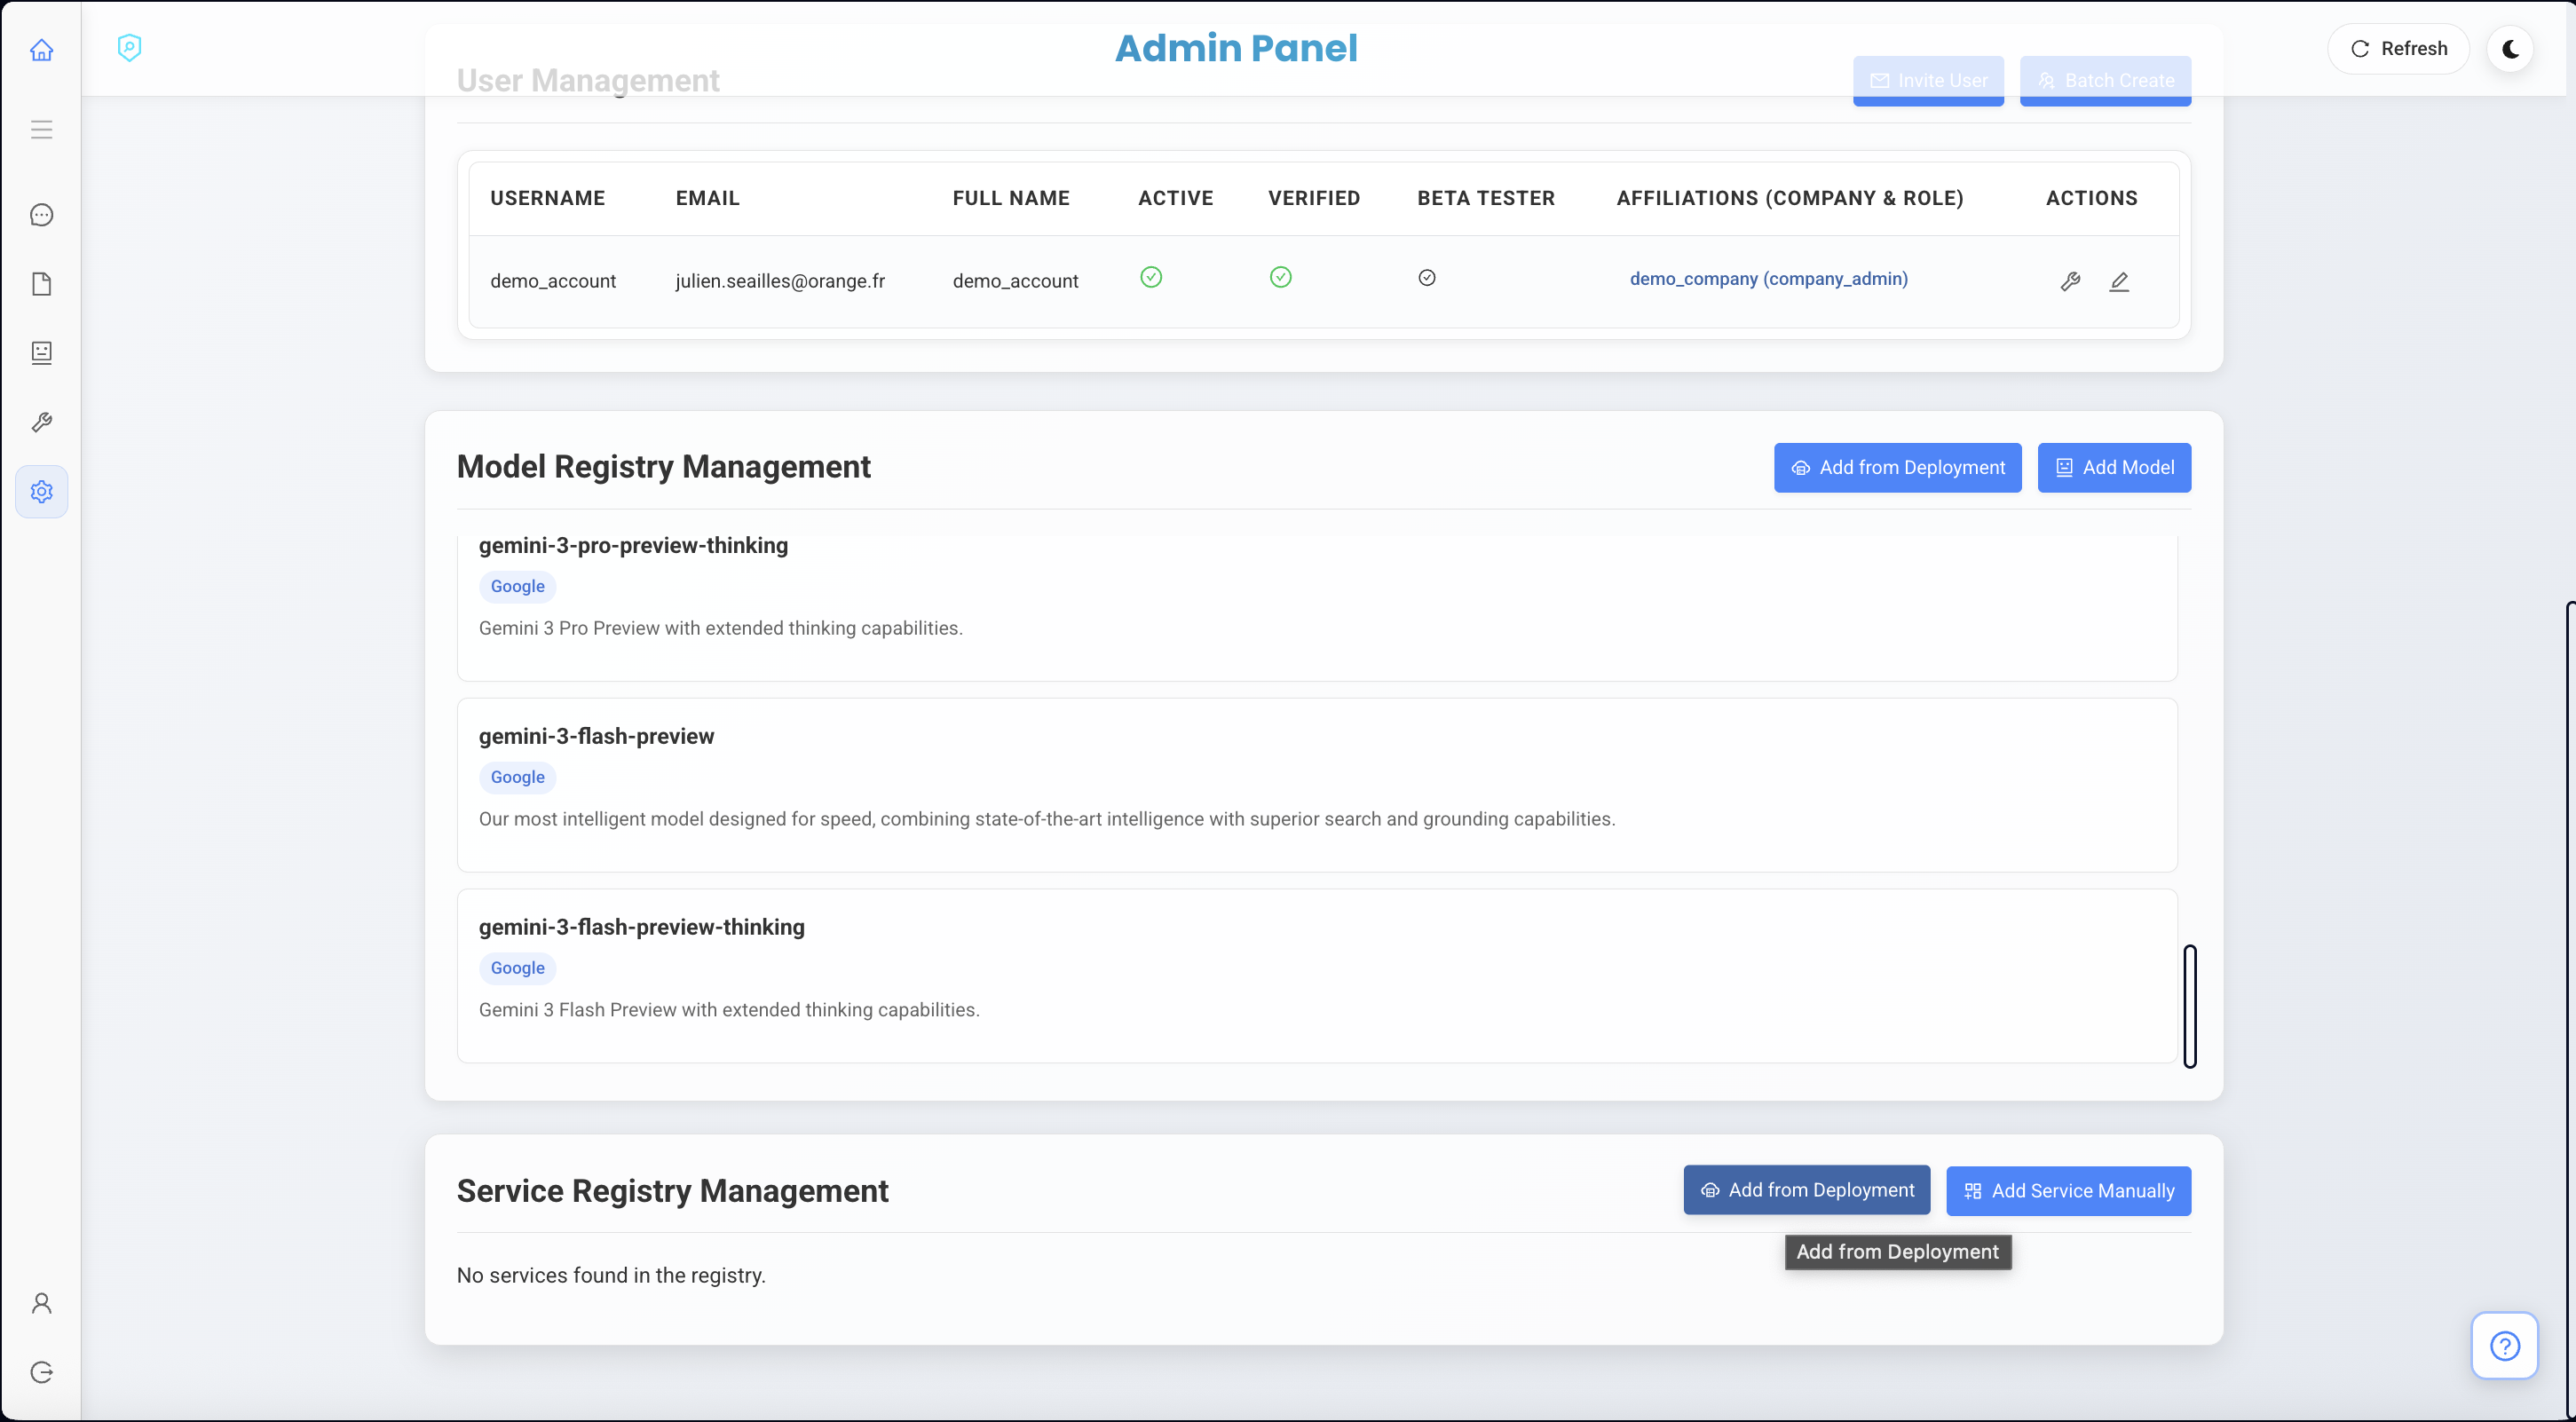 1. **Link to Service**
* Click on **Add from deployment** and select your new machine.
1. **Link to Service**
* Click on **Add from deployment** and select your new machine.
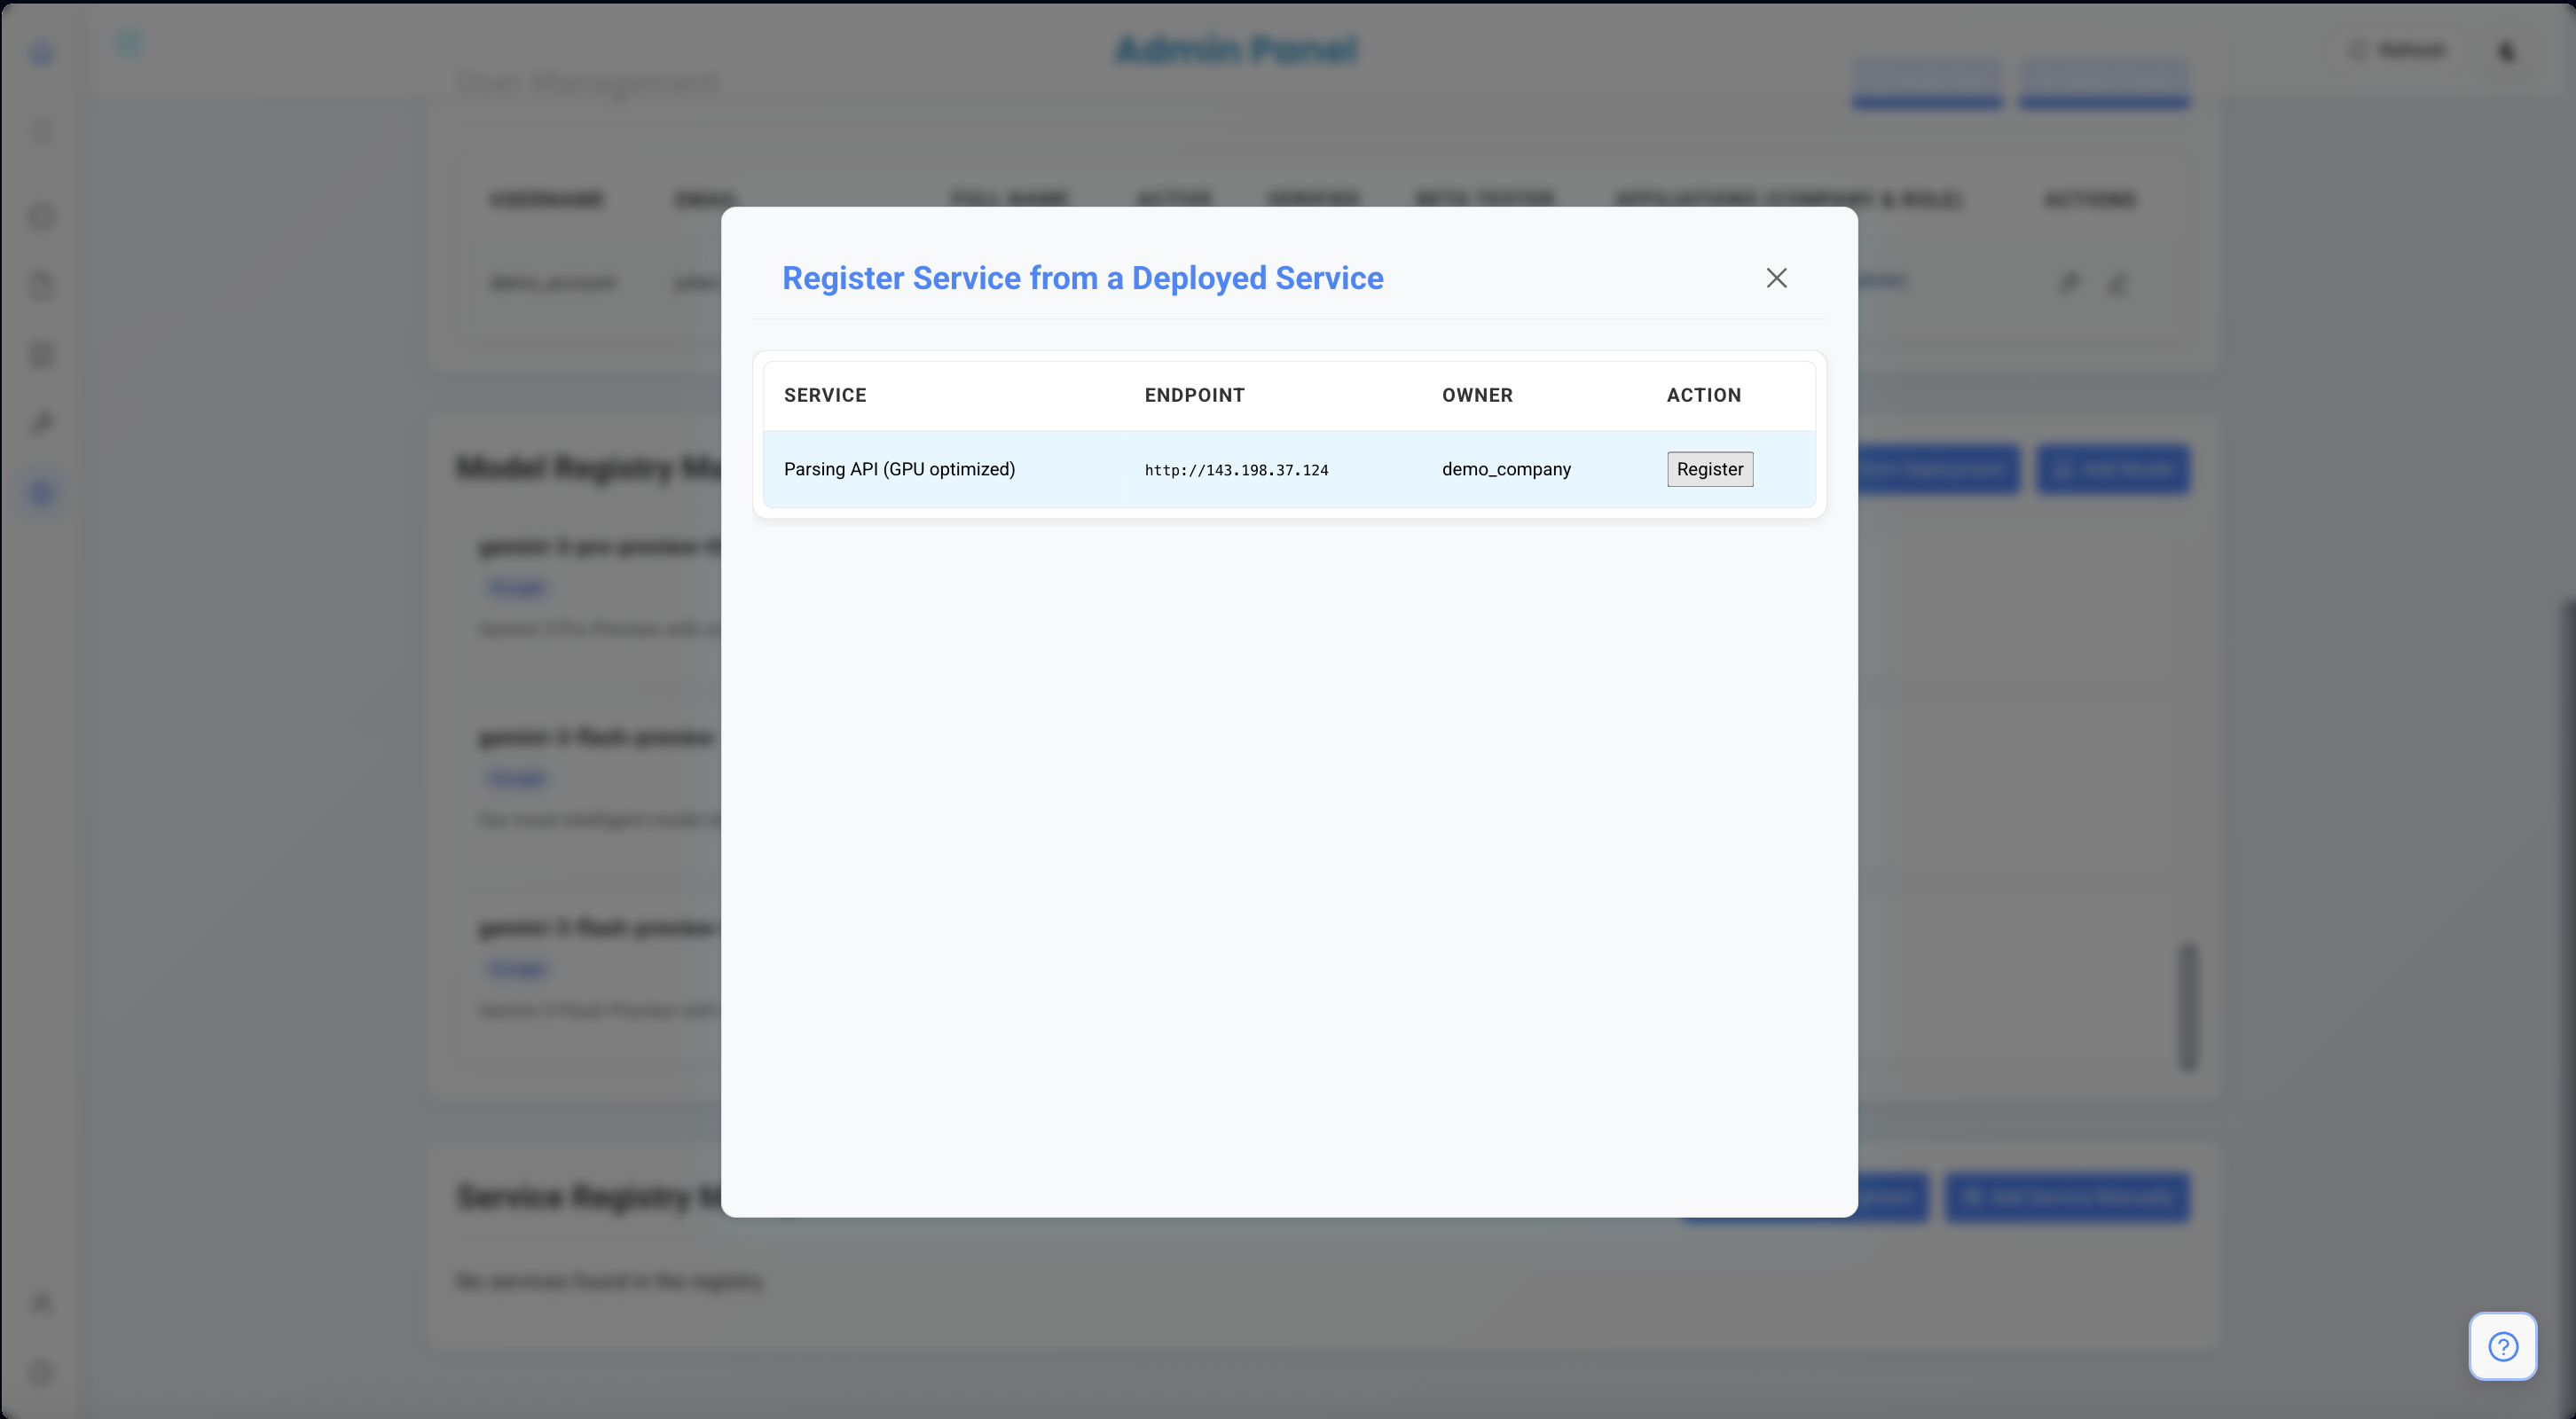 * Click on **Register**.
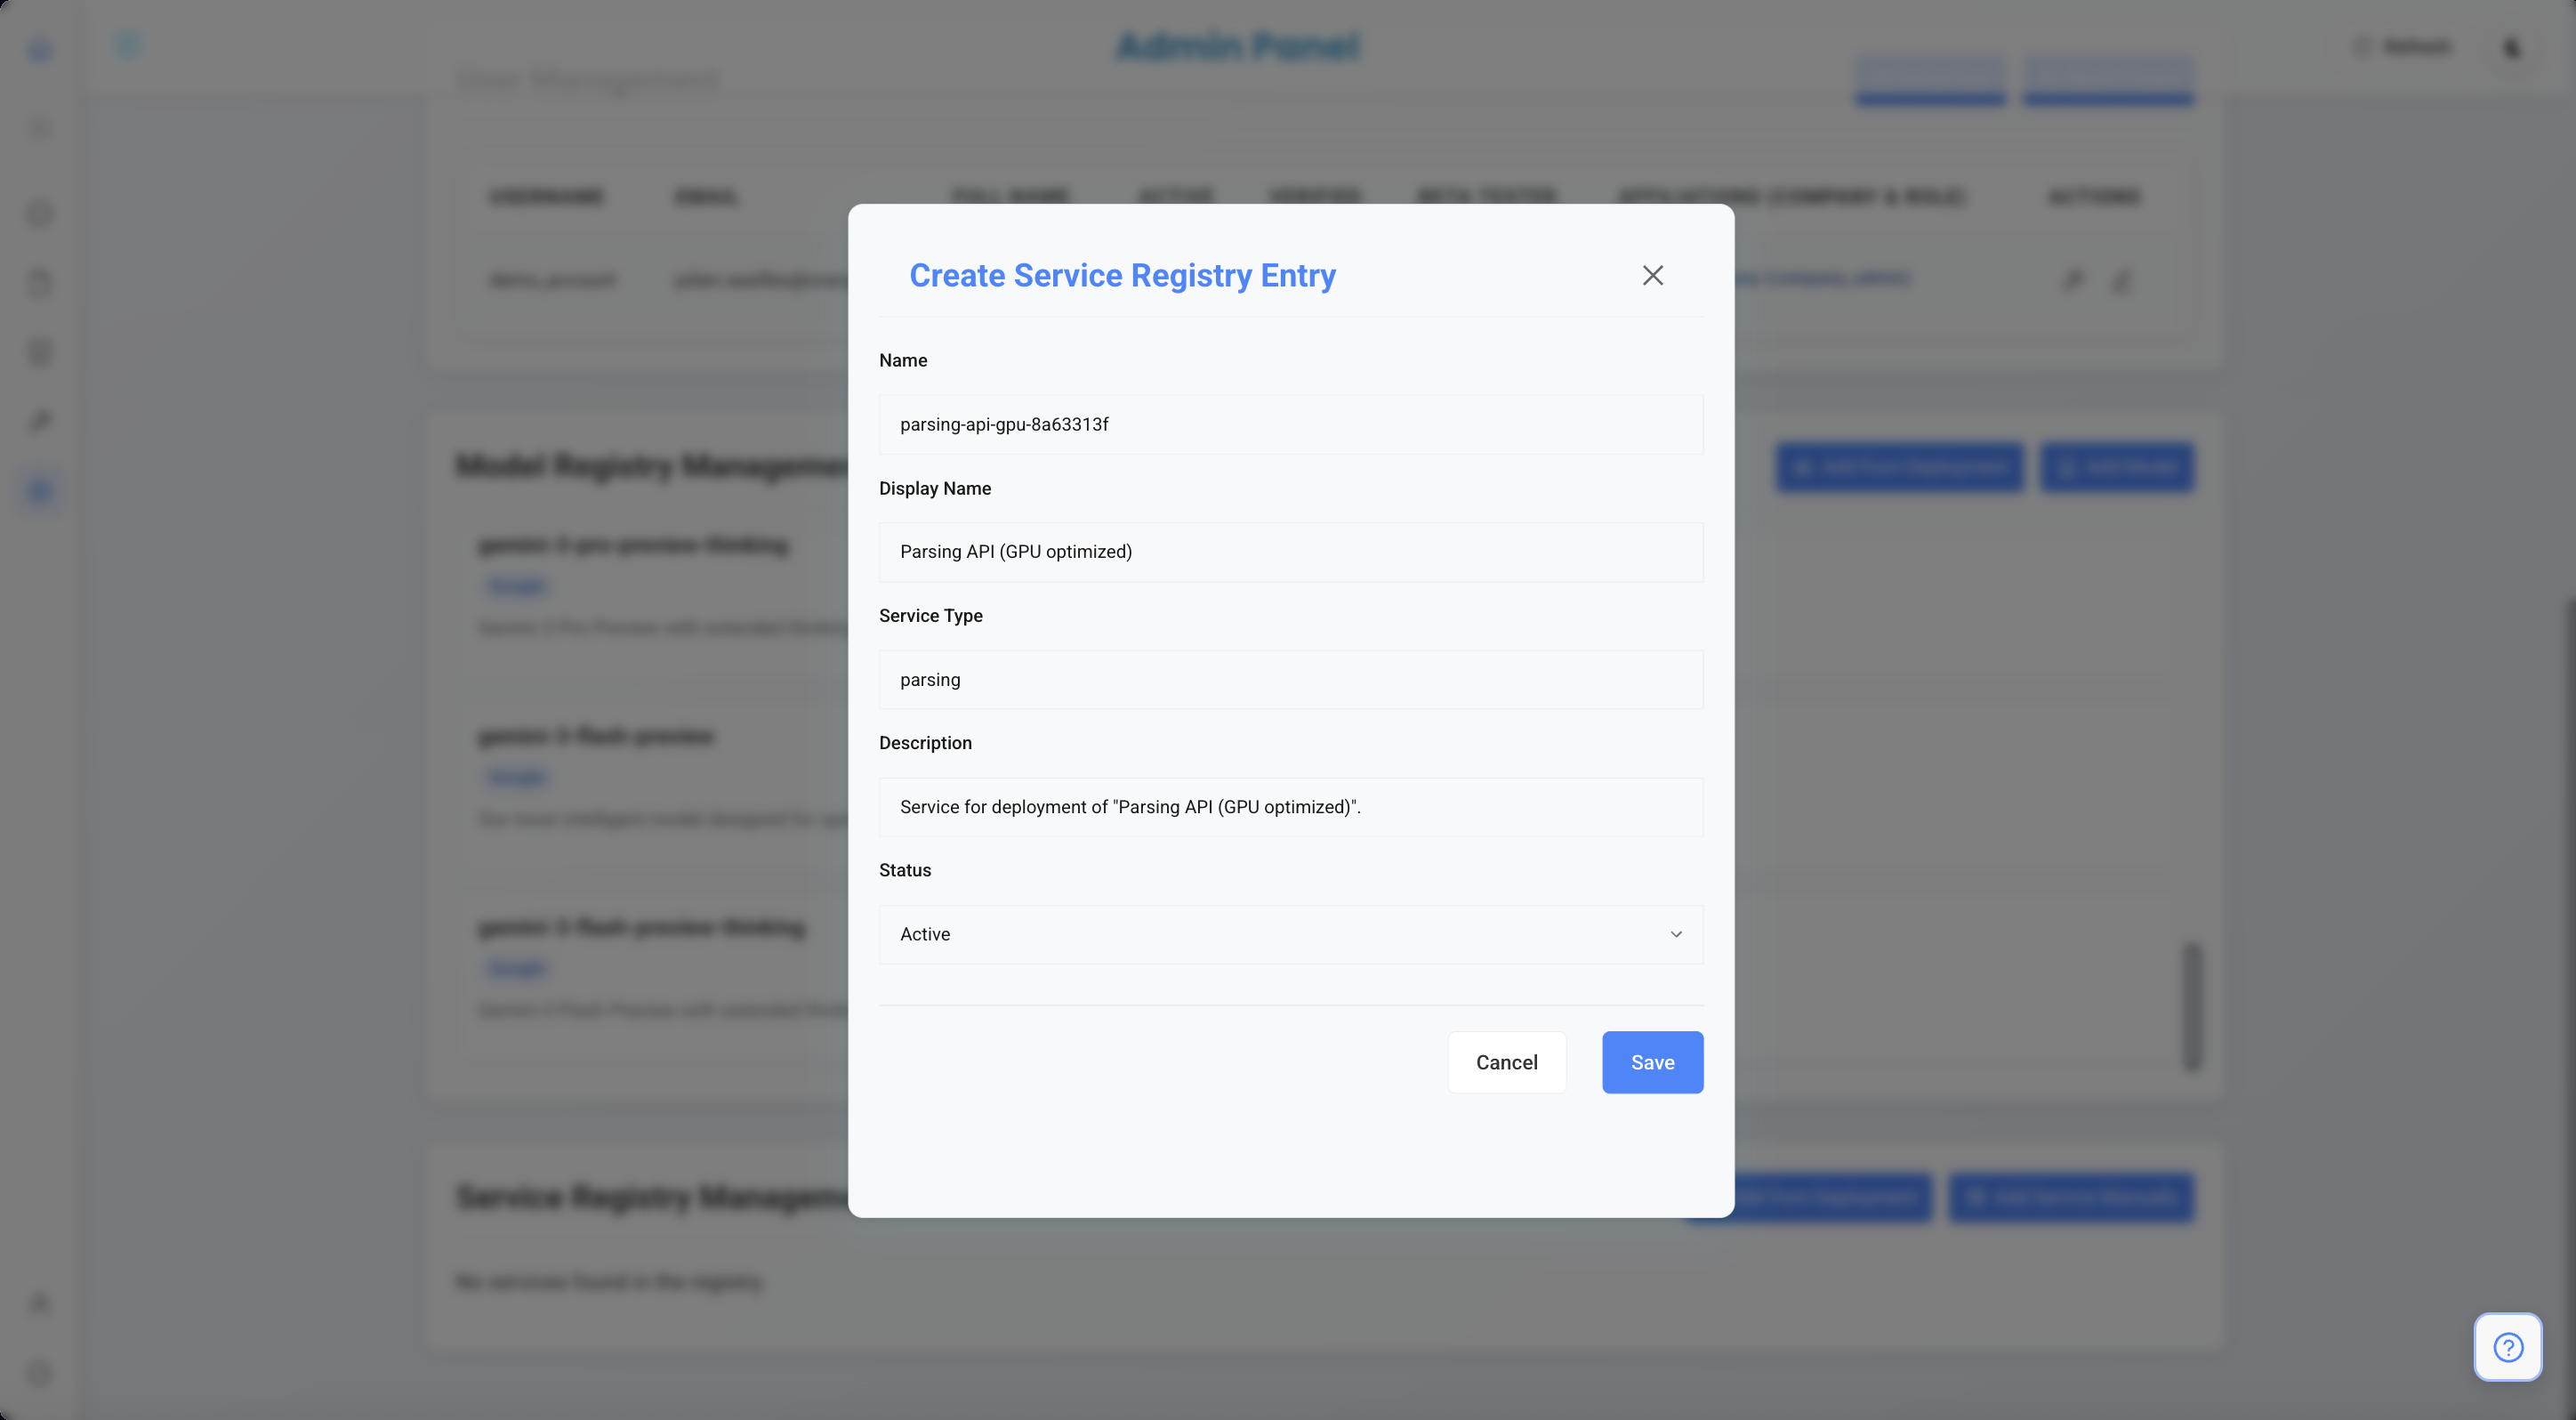 * Click on **Save**.
 2. **Manage Permissions**
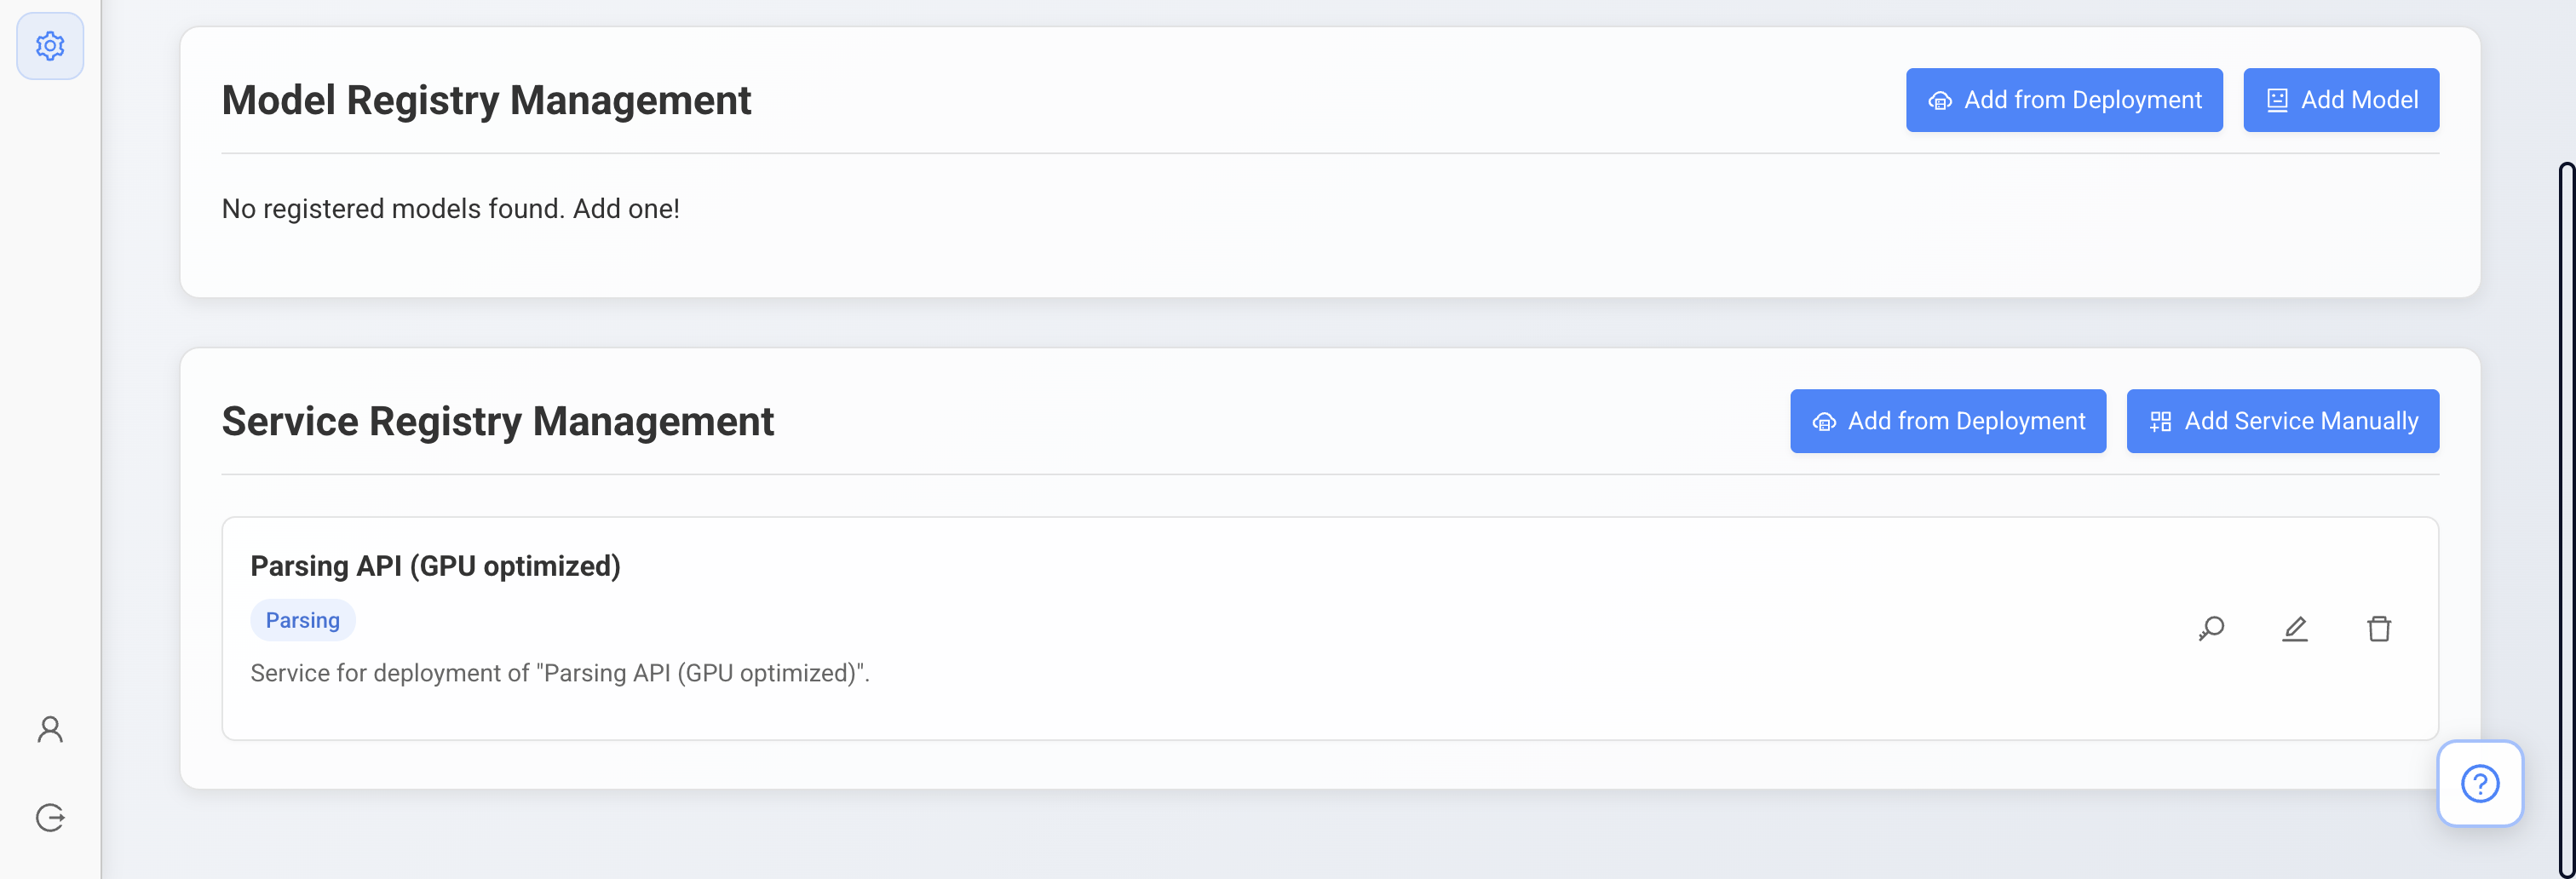
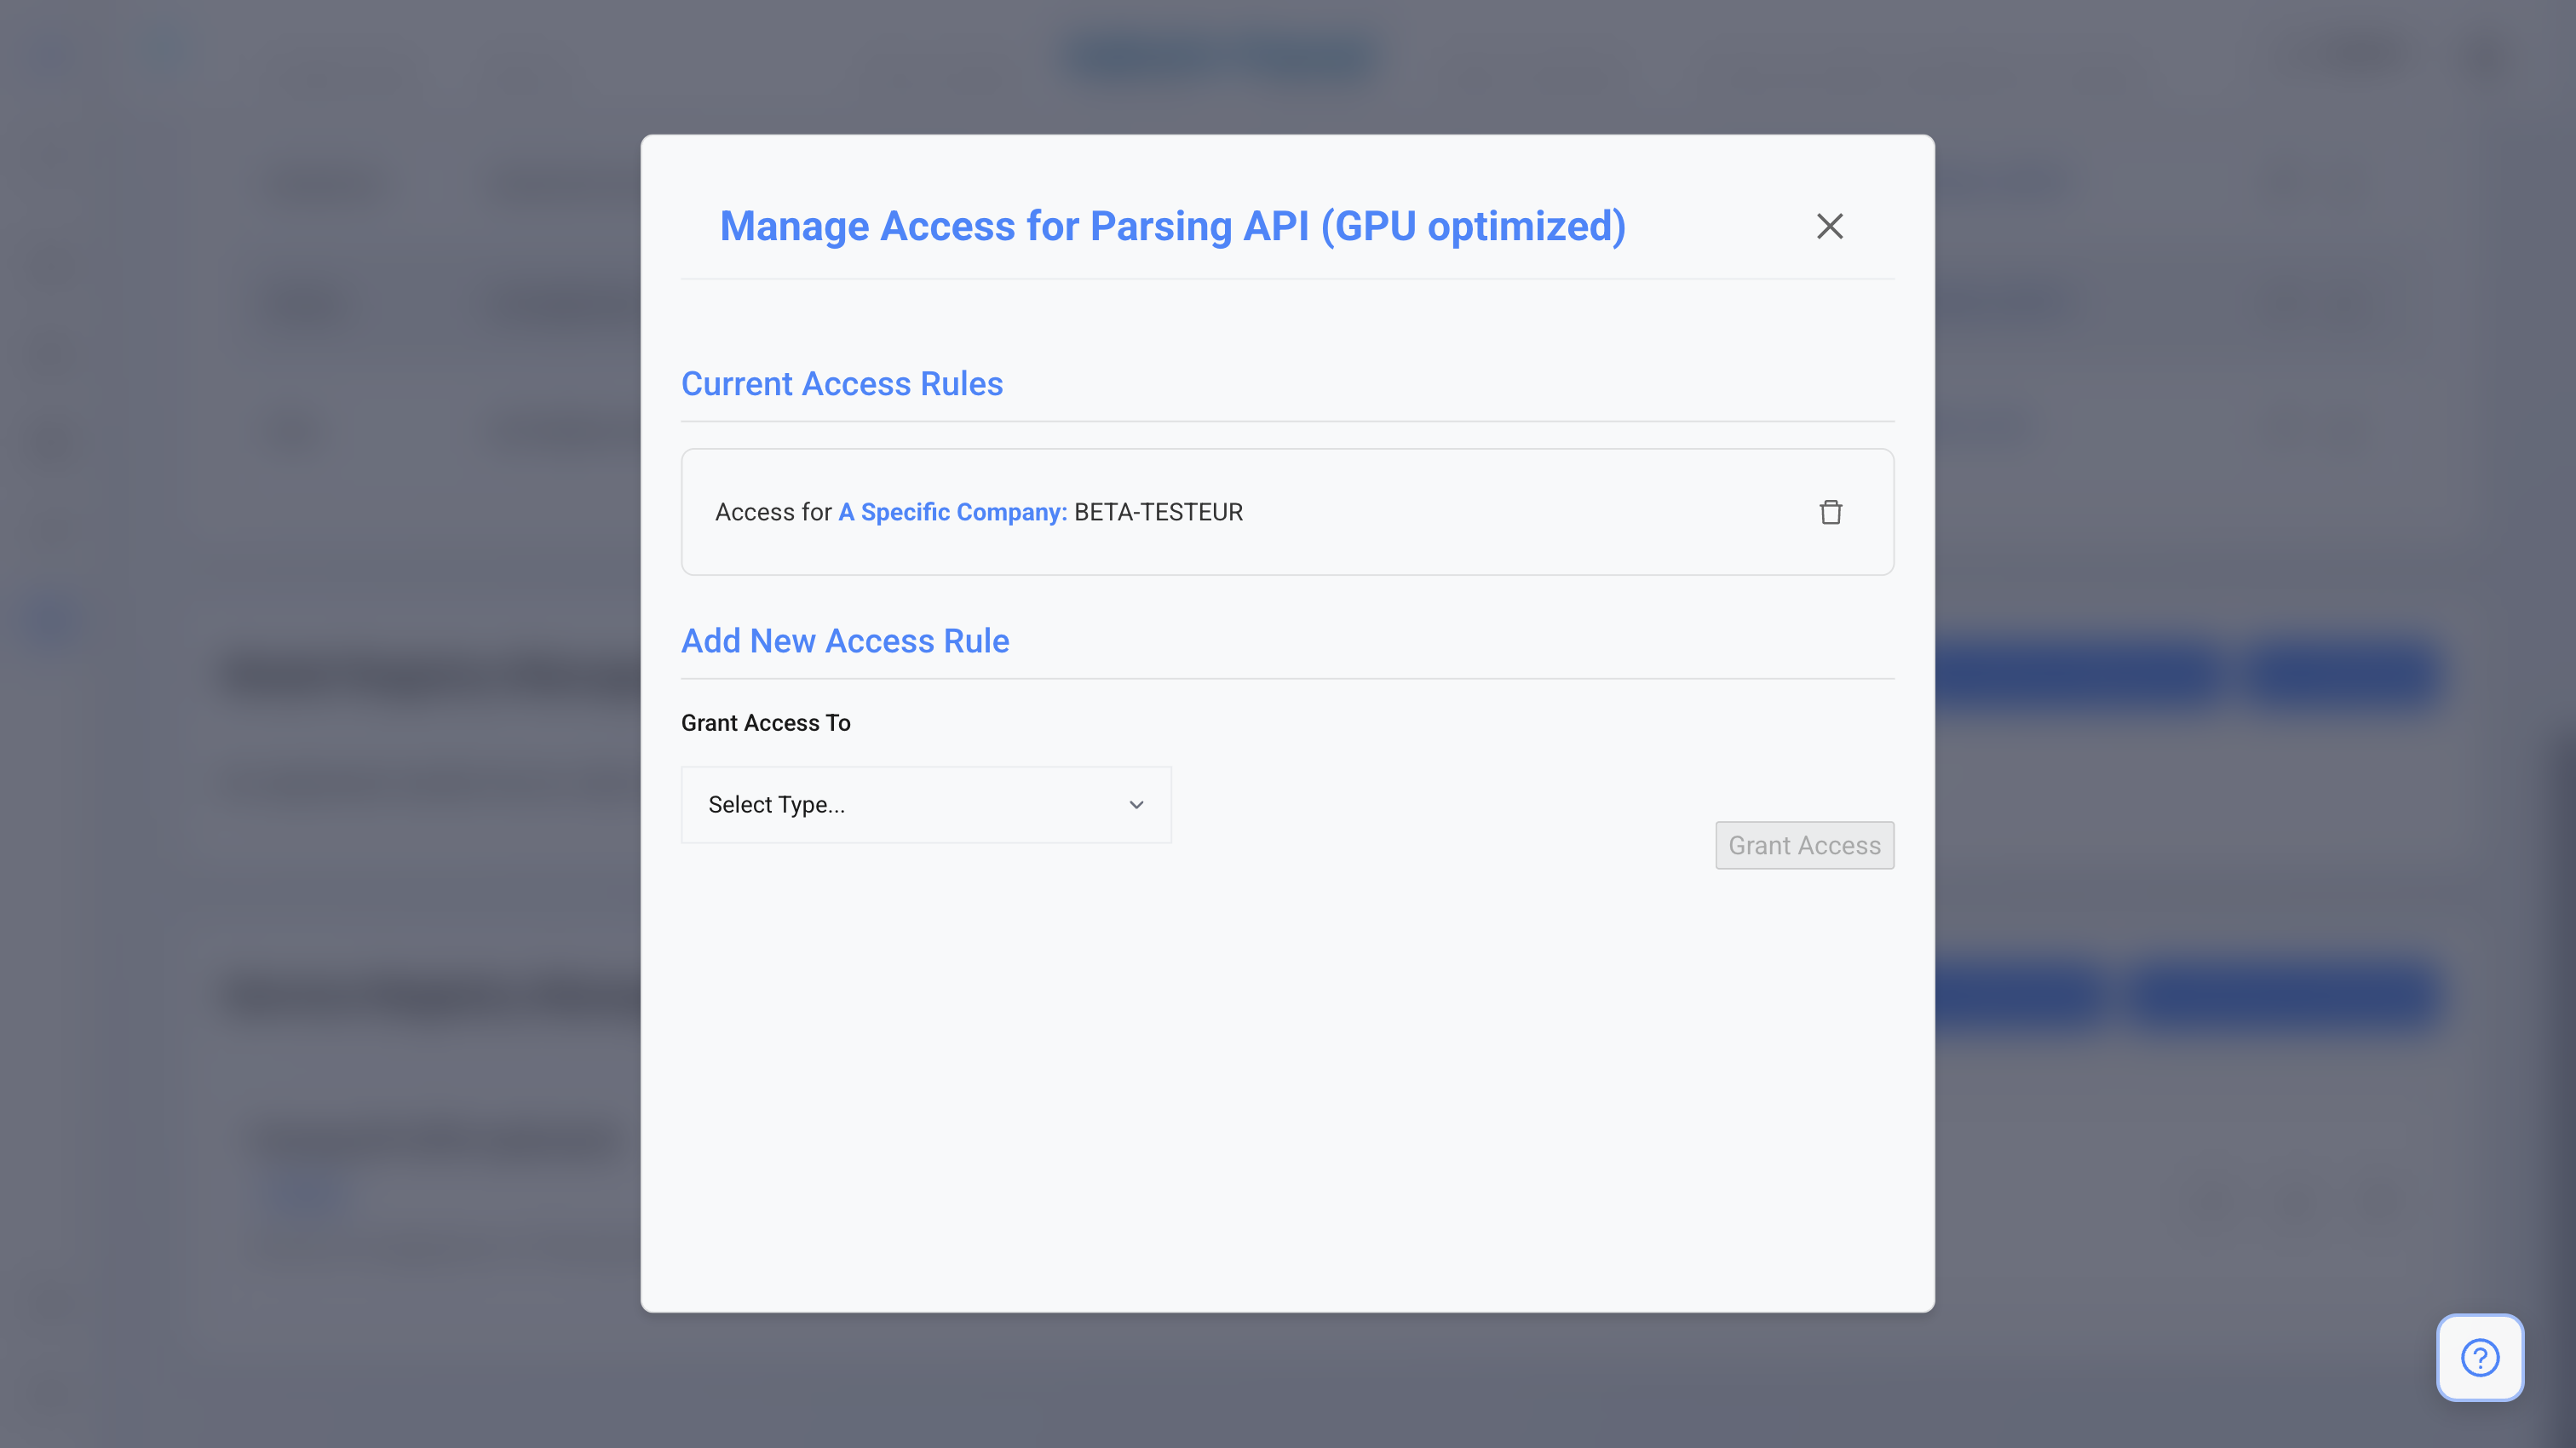
* In the service registry management, you have the new service that can be selected. Click on the **Key icon** to determine who should have access to the new service.
2. **Manage Permissions**
* In the service registry management, you have the new service that can be selected. Click on the **Key icon** to determine who should have access to the new service.
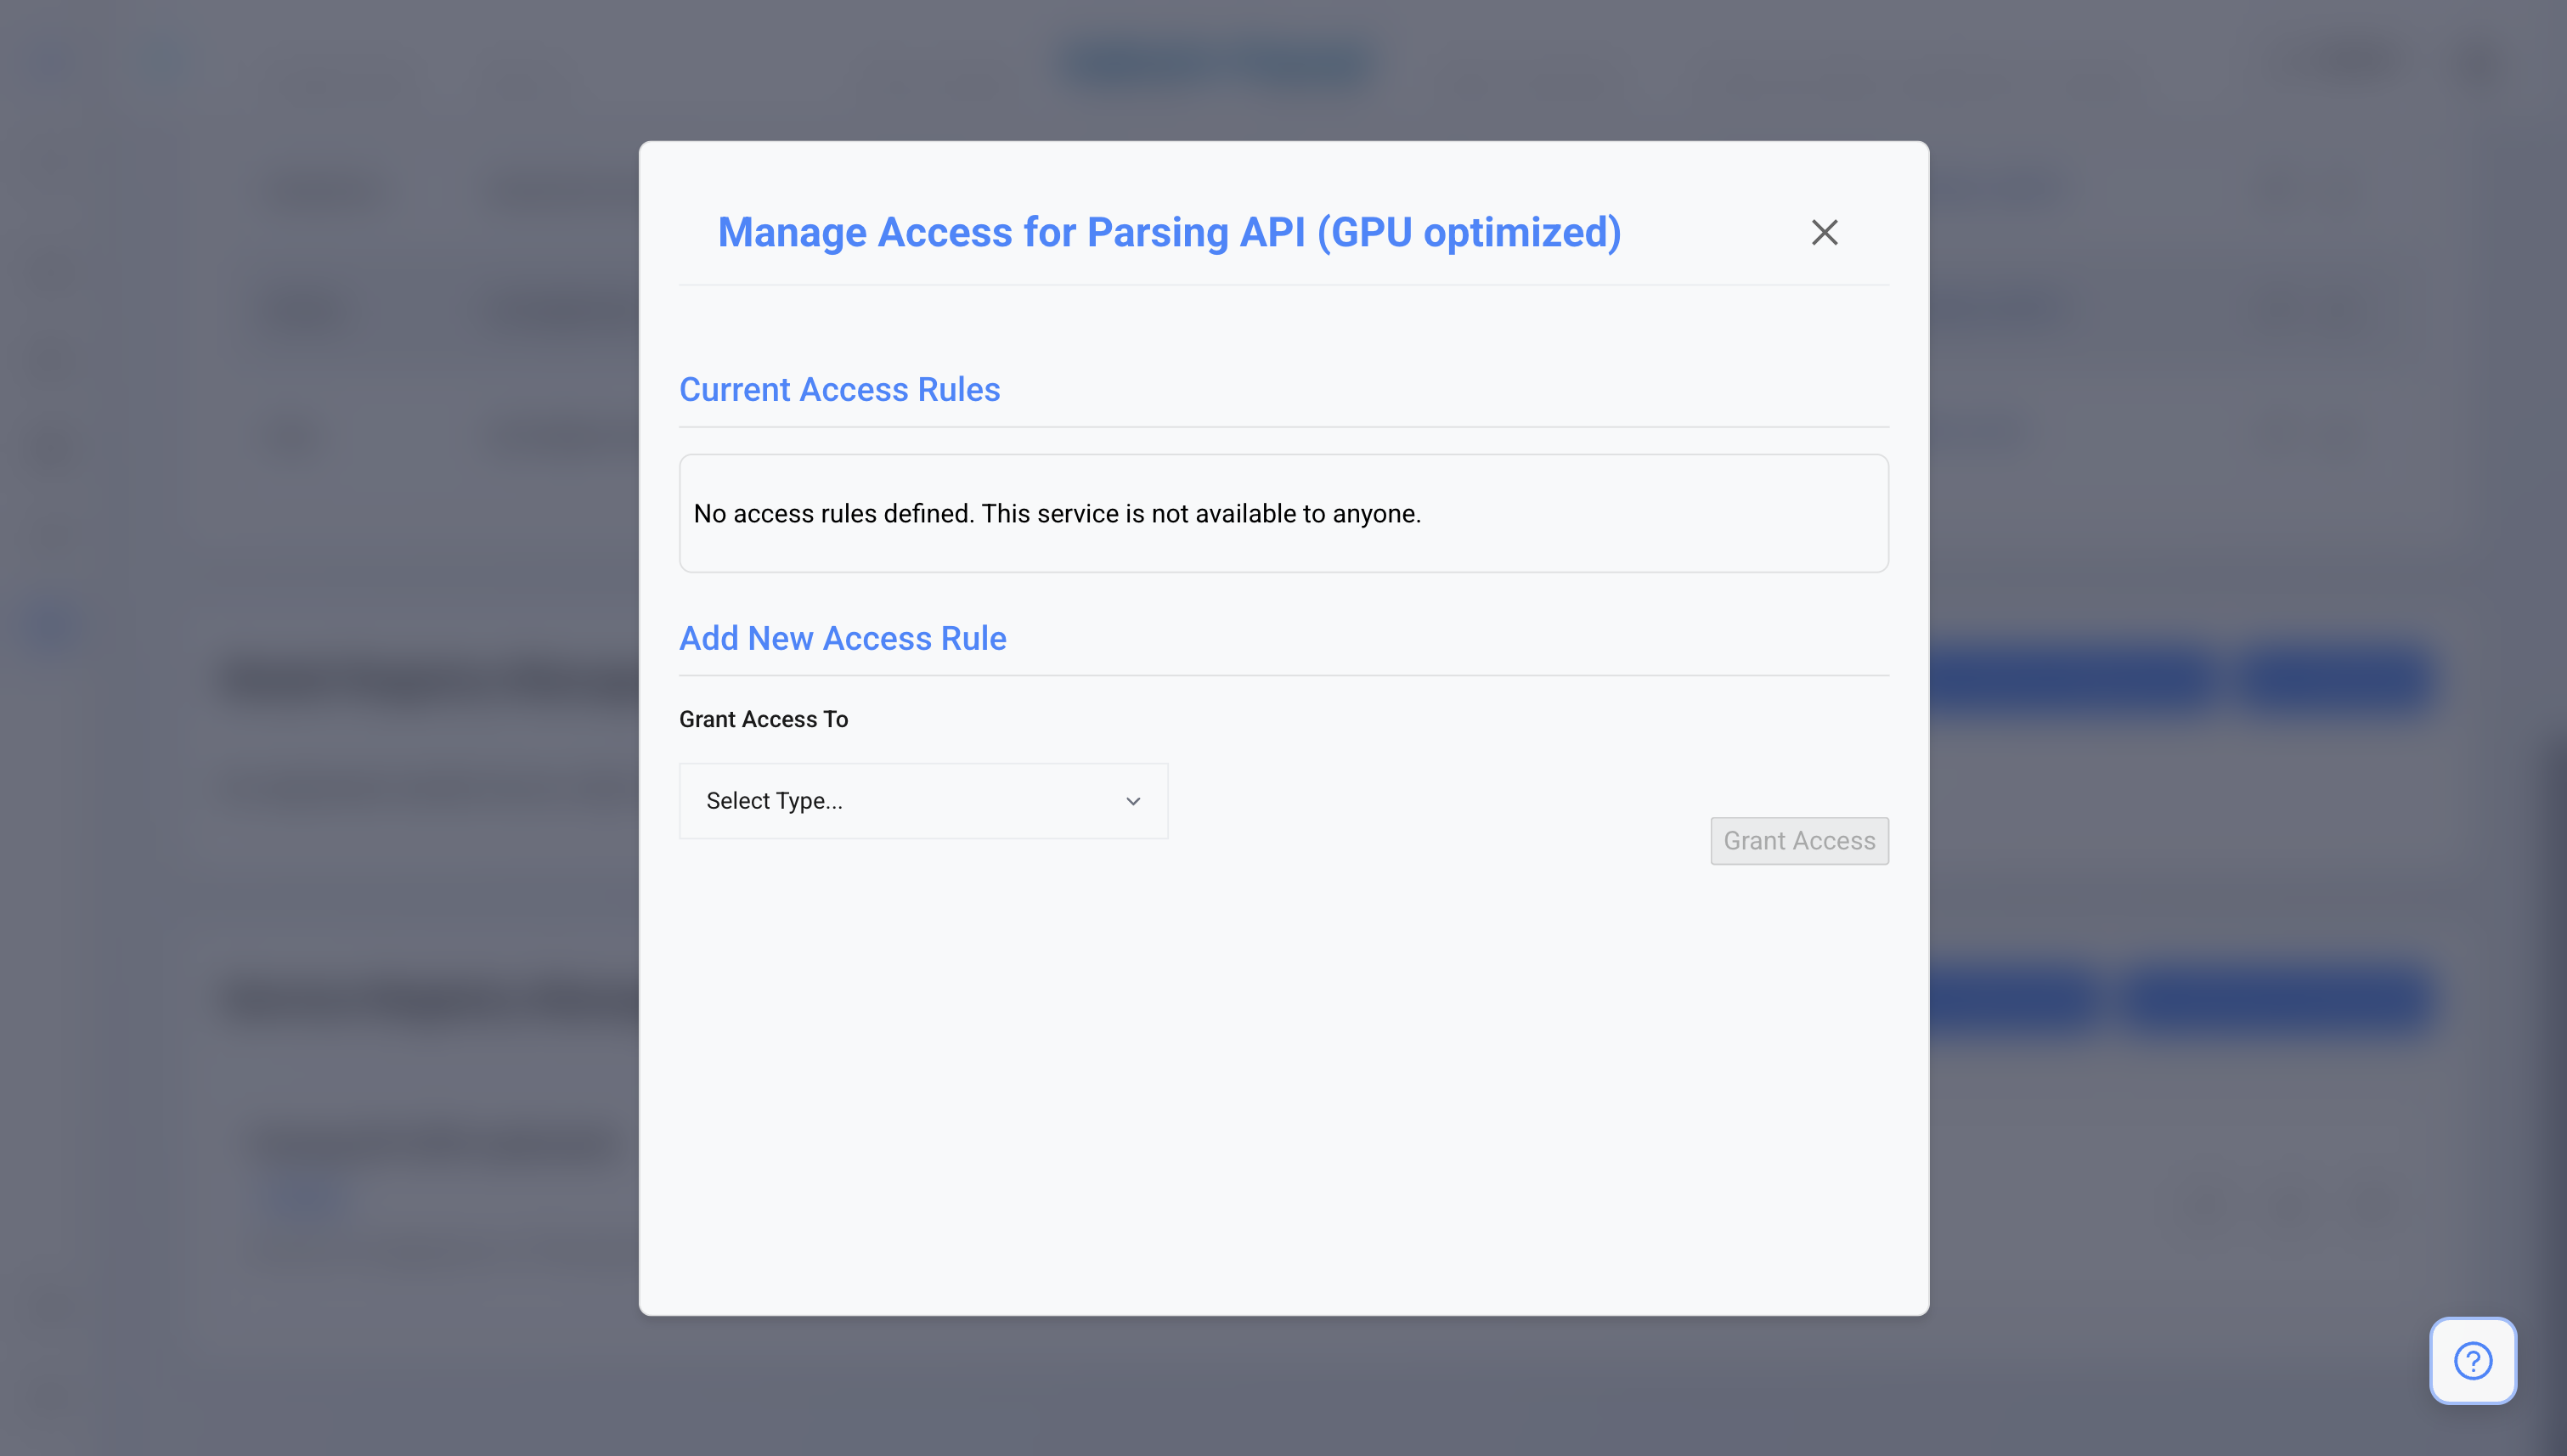 * In this menu, if you want to associate it to a particular user, you can select Grant access to **"A specific company"** and then **"The name of your company"**.
* You can also select to grant access to a particular user that is inside your company for more granular access management.
* In this menu, if you want to associate it to a particular user, you can select Grant access to **"A specific company"** and then **"The name of your company"**.
* You can also select to grant access to a particular user that is inside your company for more granular access management.
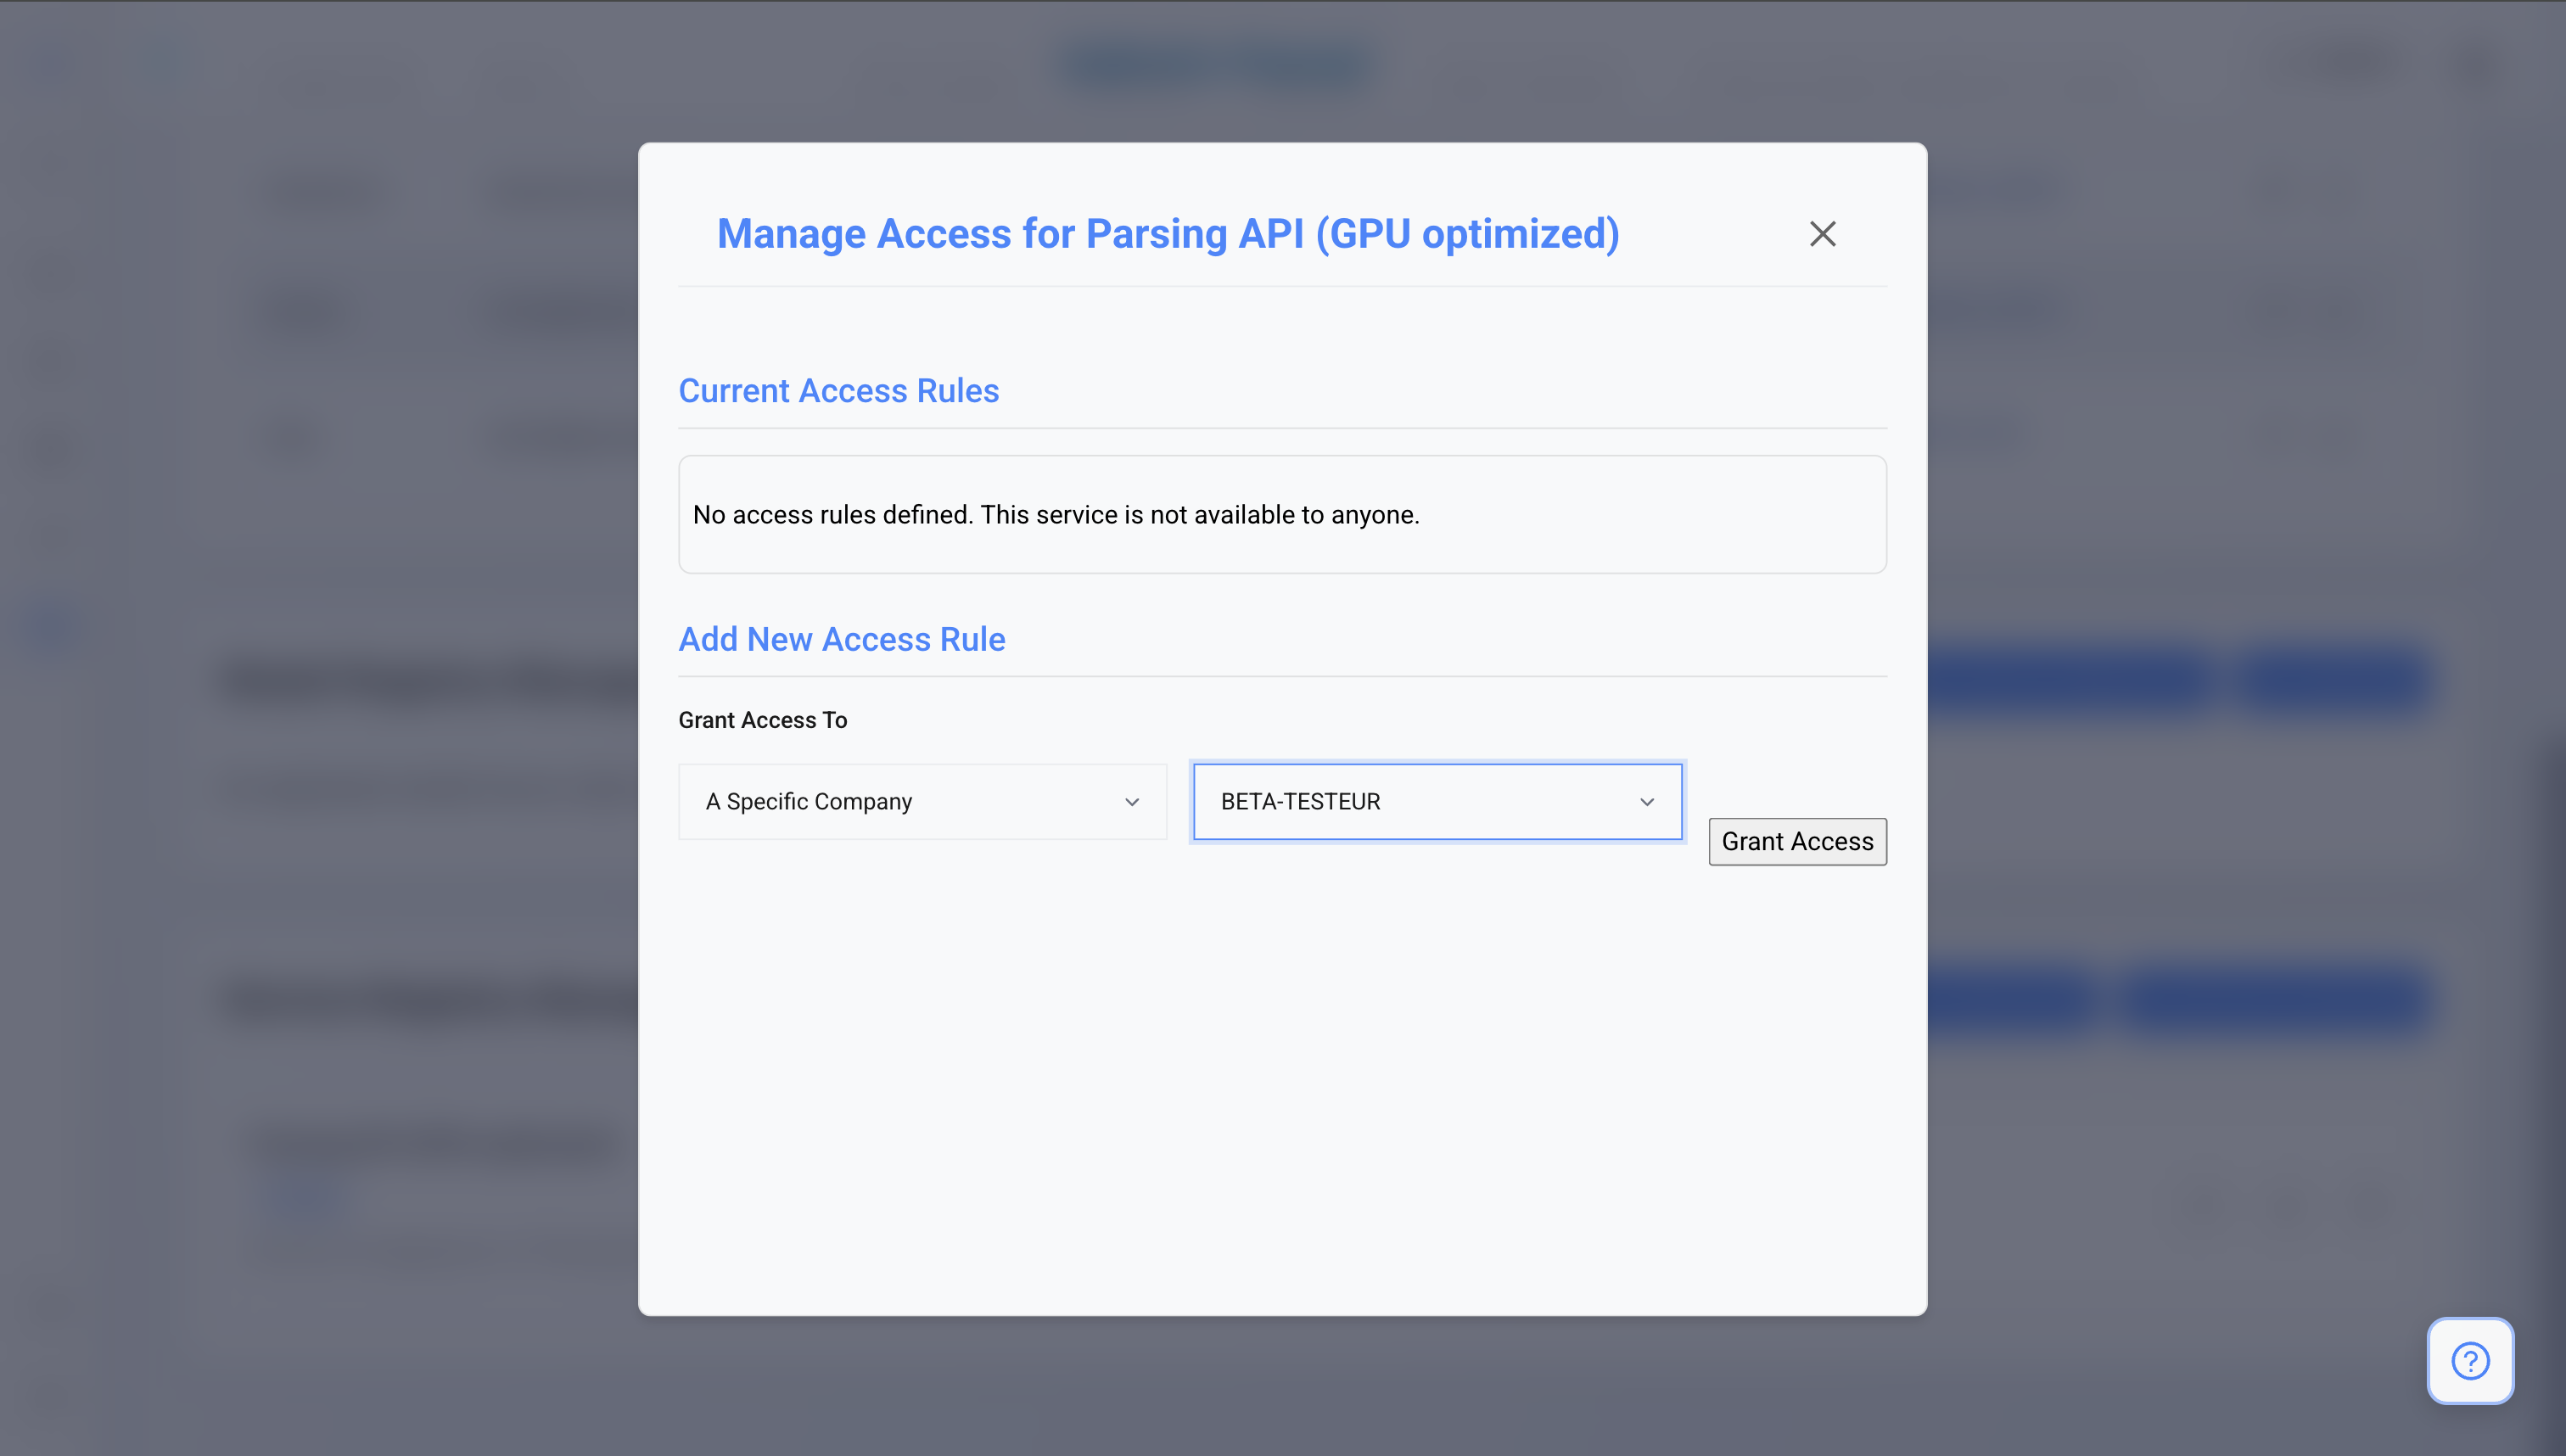 You should now see the specific company associated with your service.
 ## Important Notes
* **Cost Management**: This instance will keep running until you either:
1. Reach a low balance of credits (less than 2 hours of service worth).
2. Manually click on the **Delete deployment** action.
* **Warning**: Your credits can deplete quickly if you forget to kill the instance when it is no longer needed.
## Important Notes
* **Cost Management**: This instance will keep running until you either:
1. Reach a low balance of credits (less than 2 hours of service worth).
2. Manually click on the **Delete deployment** action.
* **Warning**: Your credits can deplete quickly if you forget to kill the instance when it is no longer needed.